Originally posted on our sister website: Ultimate Reloader.
Here’s my philosophy: why not have a threaded muzzle? If you want to use a muzzle brake or a suppressor, you’re all set! If you don’t use a muzzle device, you put a thread protector on, and you’re good to go. So now that we’ve completed the breech-end barrel work, let’s move on to the muzzle end.
For review, I’m using a Precision Matthews PM-1440GT ultra-precision Taiwanese lathe for this project:
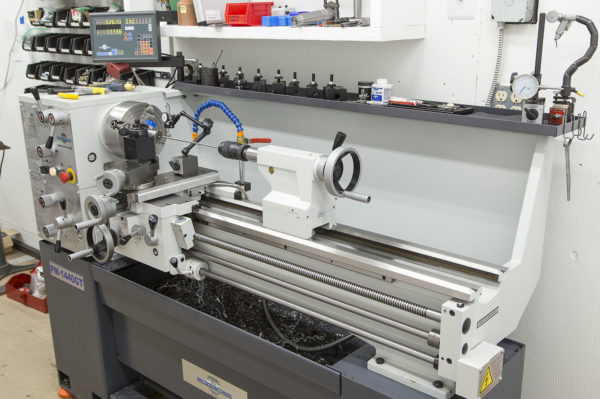
A GREAT lathe for gunsmithing due to the generous capacity, short headstock, and precision construction. Now on to our muzzle work!
Securing and Aligning the Barrel
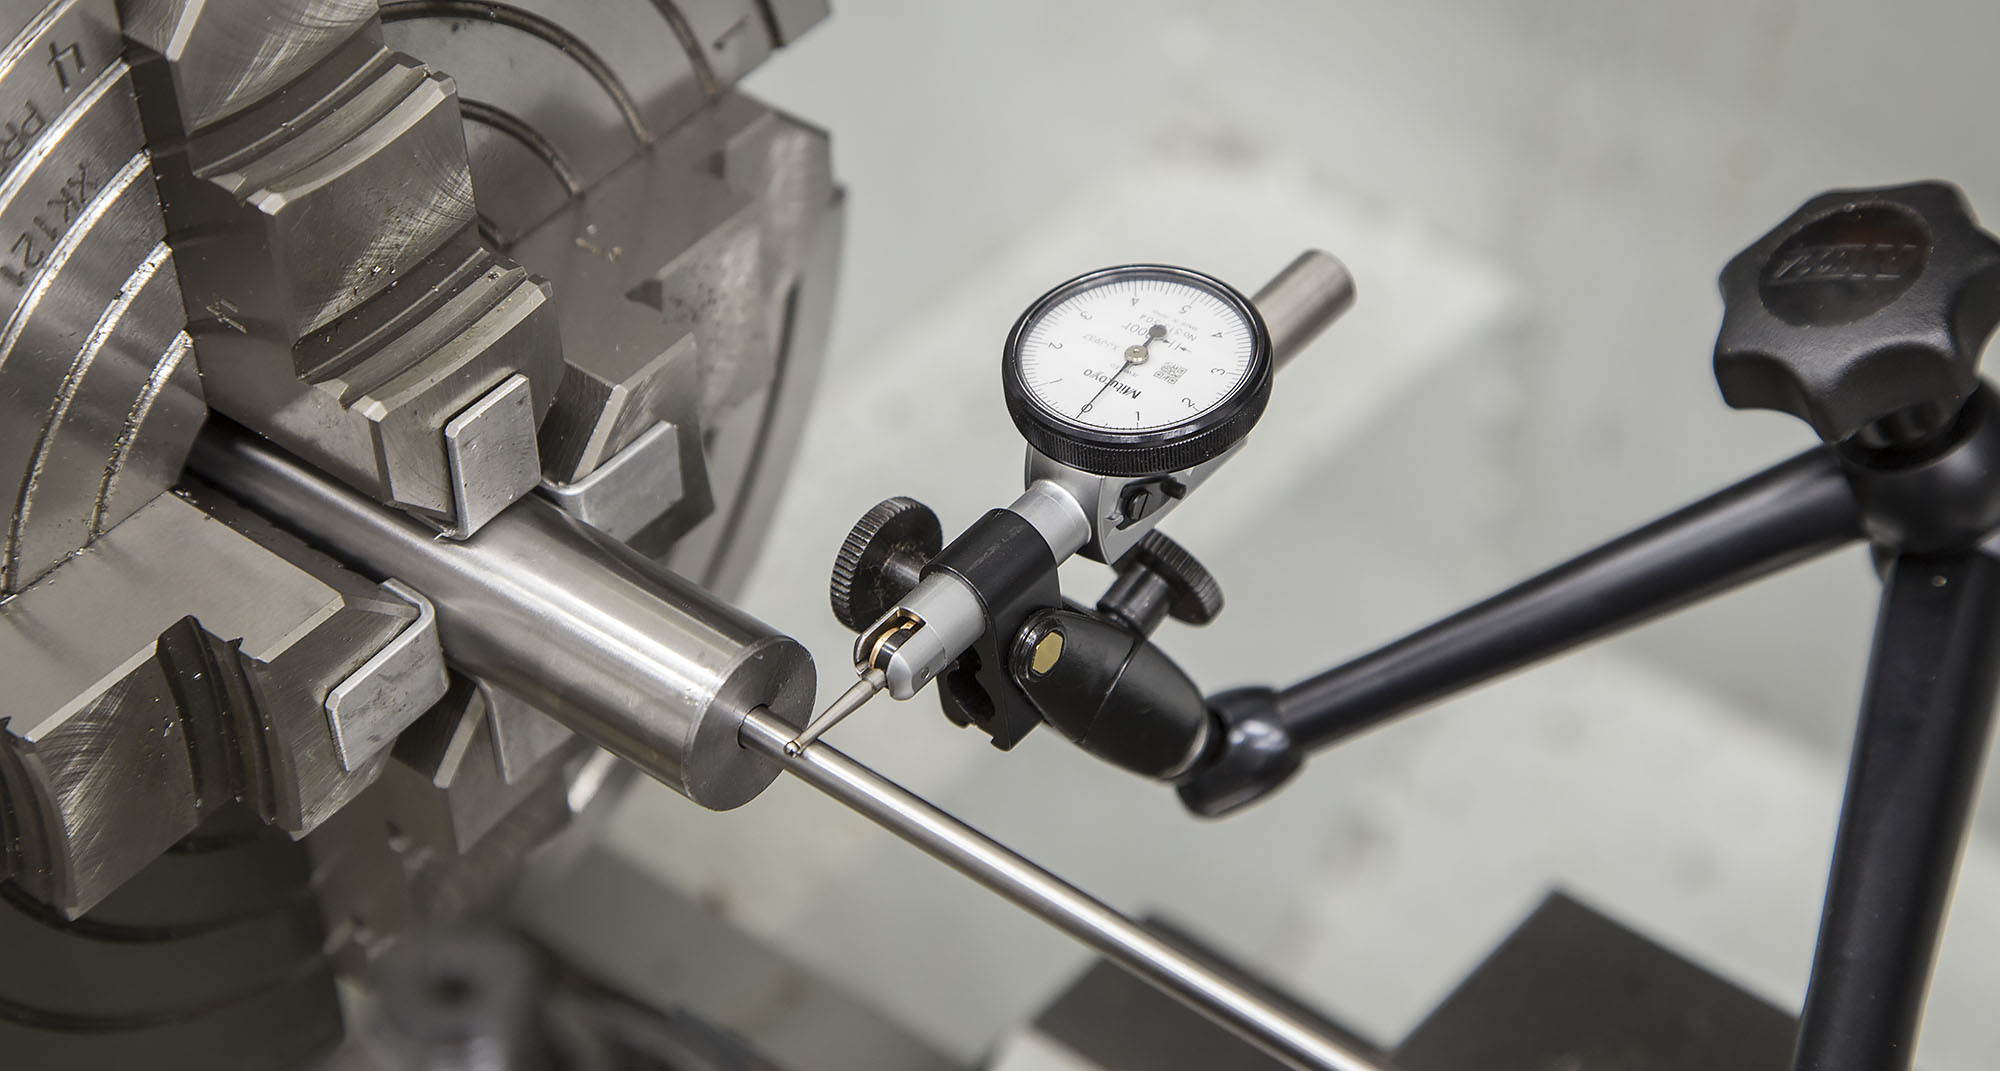
For this muzzle threading operation, I used the same barrel alignment process as I did for the breech end.
To summarize:
- Rough-align the muzzle end with dead center in tailstock
- Center breech end in outboard spider
- Face off muzzle end (clean up bandsaw marks, etc)
- Center drill to clean up bore exit
- Use grizzly rod to align two points: end of muzzle, bore section 1.5″ towards breech end
- Carefully torque down 4-jaw chuck jaws to “light-to-medium” pressure
Threading the Muzzle
The muzzle threading operation was also nearly identical to the process of cutting and threading the breech-end tenon.
The steps were:
- Measure the Ruger Precision Rifle threaded muzzle key dimensions (this is a copy of what Ruger does for the RPR)
- Turn the tenon down, 0.020″ longer than needed
- Cut the thread relief
- Clean up the shoulder
- Cut the “step” on the muzzle end
- Thread the muzzle
- Face the muzzle end to length
- Cut the recessed crown
- Polish the end of the muzzle and crown with fine sandpaper
Here’s the muzzle end after profiling, but before cutting the step, and threading:

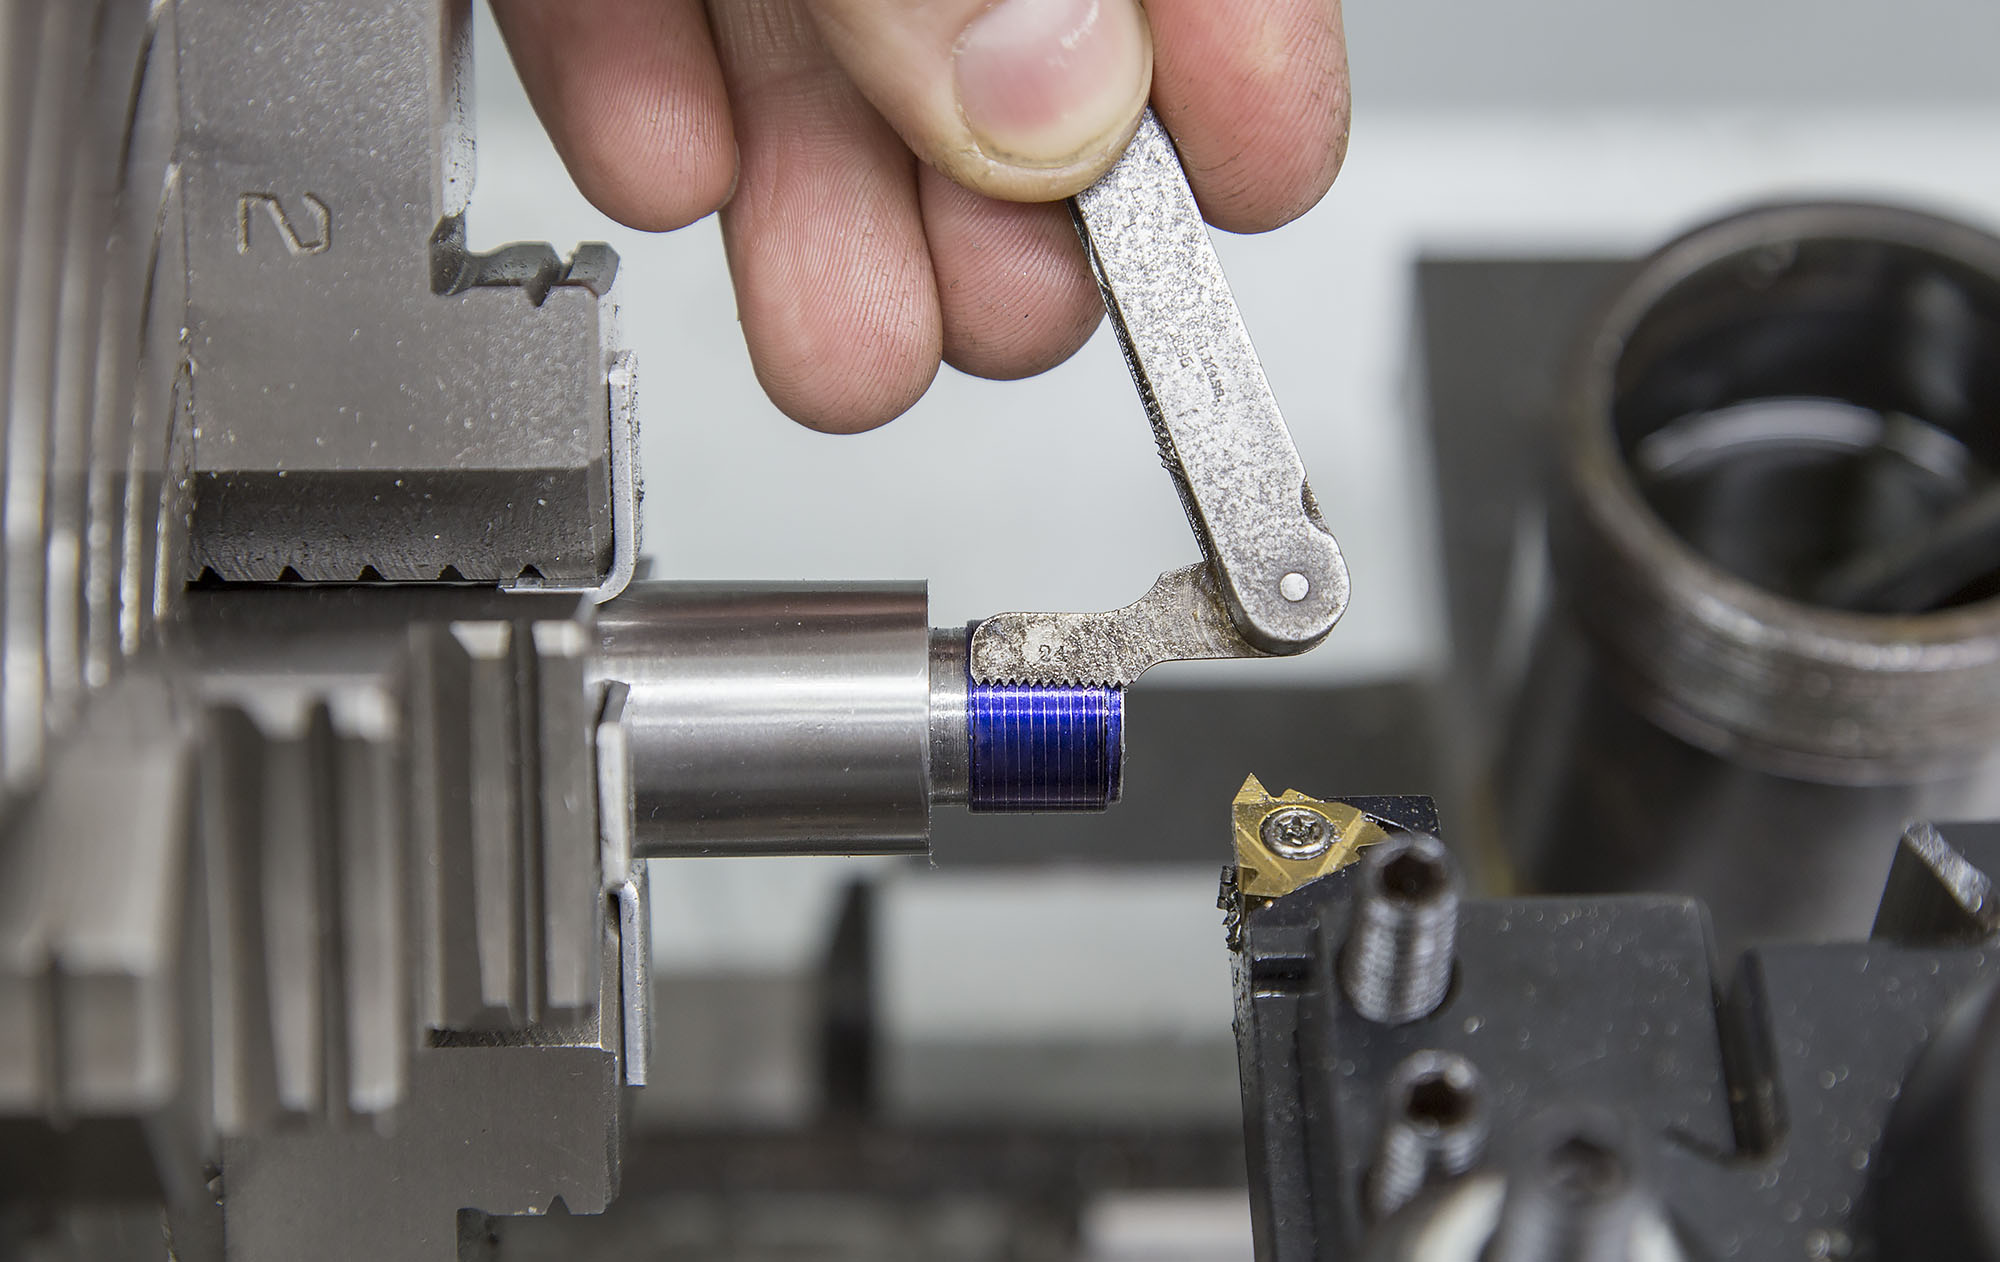
And checking the thread pitch (24 TPI) before threading:
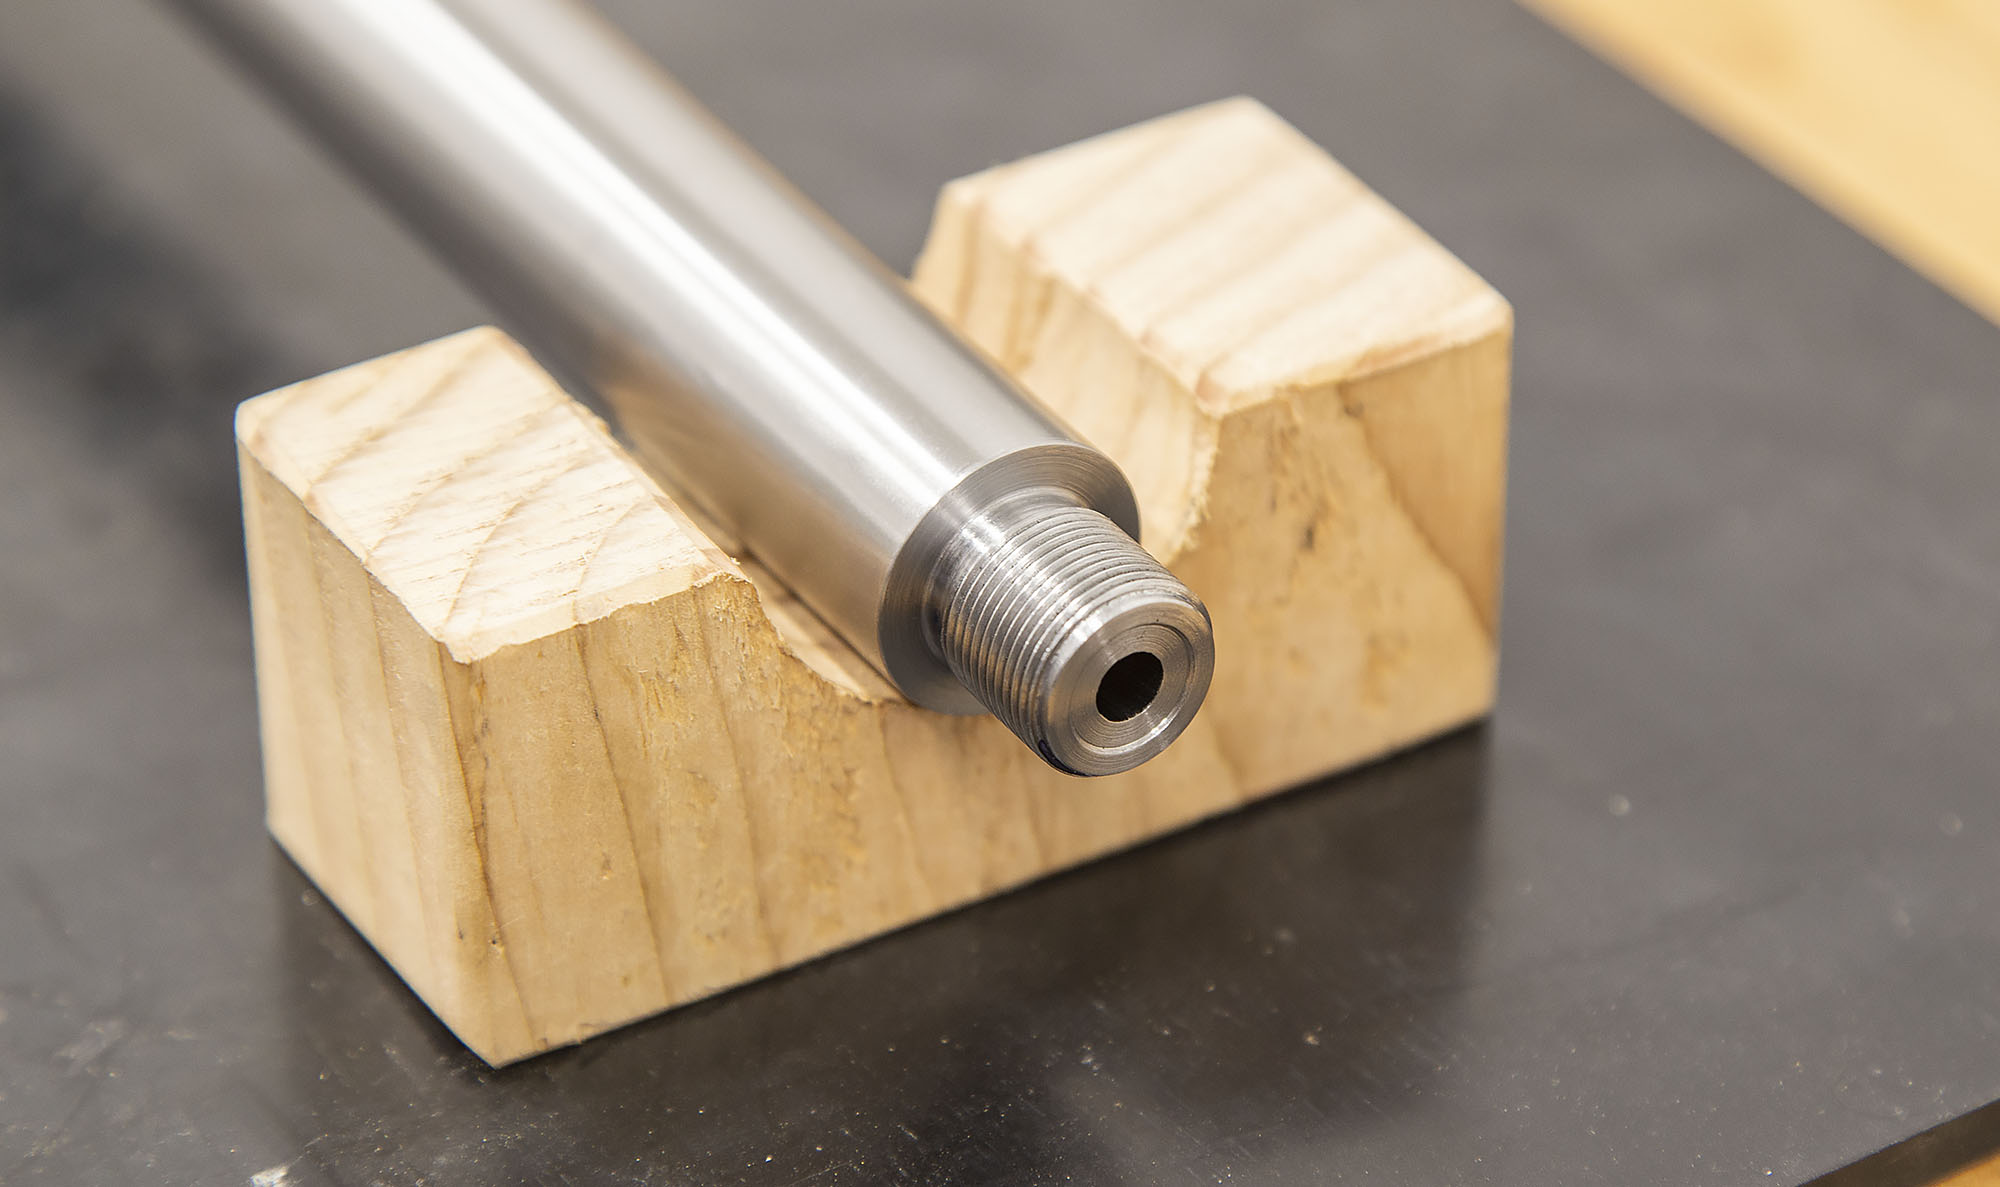
And the final result:
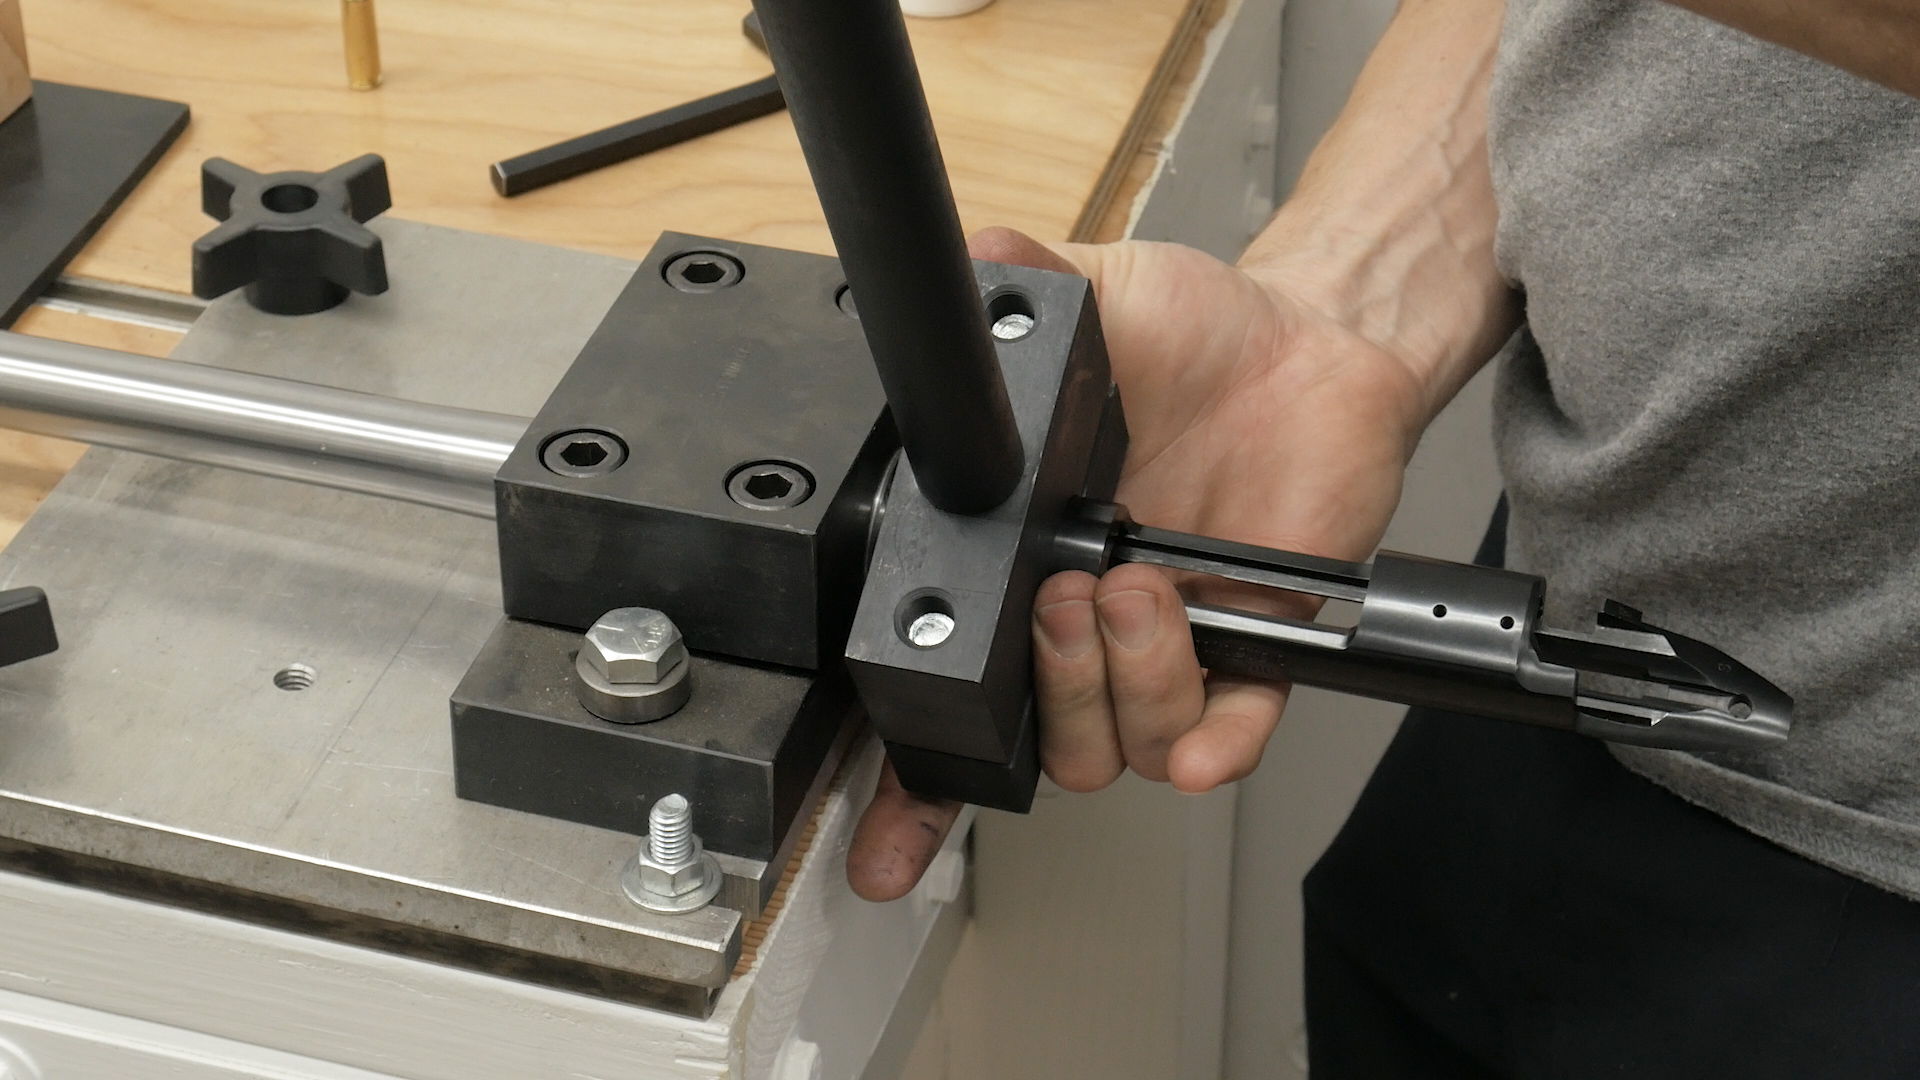
Installing the Barrel
For the install of this barrel, I used the following tools:
- Wheeler Engineering Remington 700 Action Wrench
- Brownells Barrel Vice and 1.25″ bushings
I carefully filed the recoil lug cutout on the action wrench cap (the portion that bolts onto the wrench handle) for a perfect fit with my Badger Ordnance oversize recoil lug. This is important, because the action wrench positions the recoil lug as the receiver, recoil lug, and barrel are tightened down as an assembly.
Spinning the action onto the barrel:

And the final tightening (with recoil lug placed in action wrench recess):
Checking Headspace
And now, the moment of truth? Did I get exactly 0.002″ crush factor when tightening the barrel in the action? Would headspace work out properly? (I always have a touch of “butterflies” when this time comes).
Check #1: with go-gauge in place:
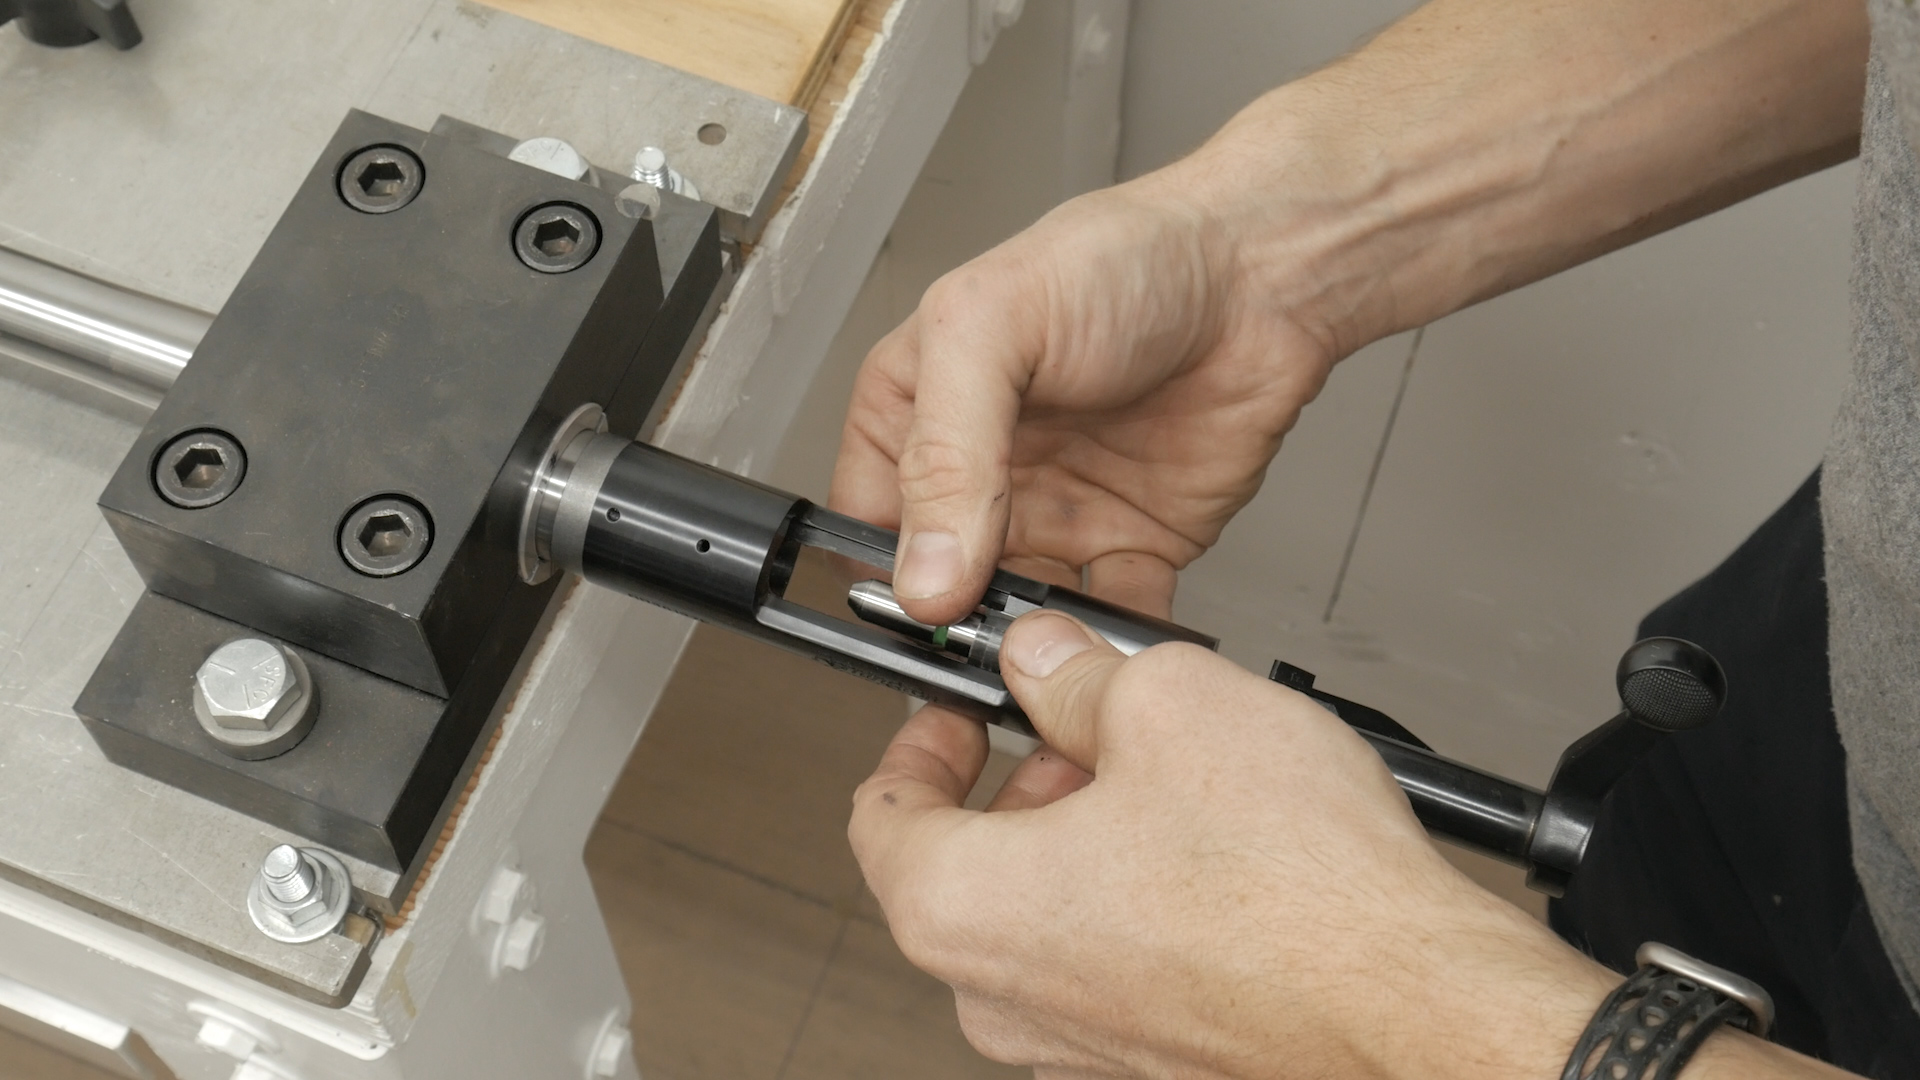
The bolt handle went down on the go-gauge! YES! One more check…
Check #2: with “no-go” gauge (go gauge with 0.002″ scotch tape on back):
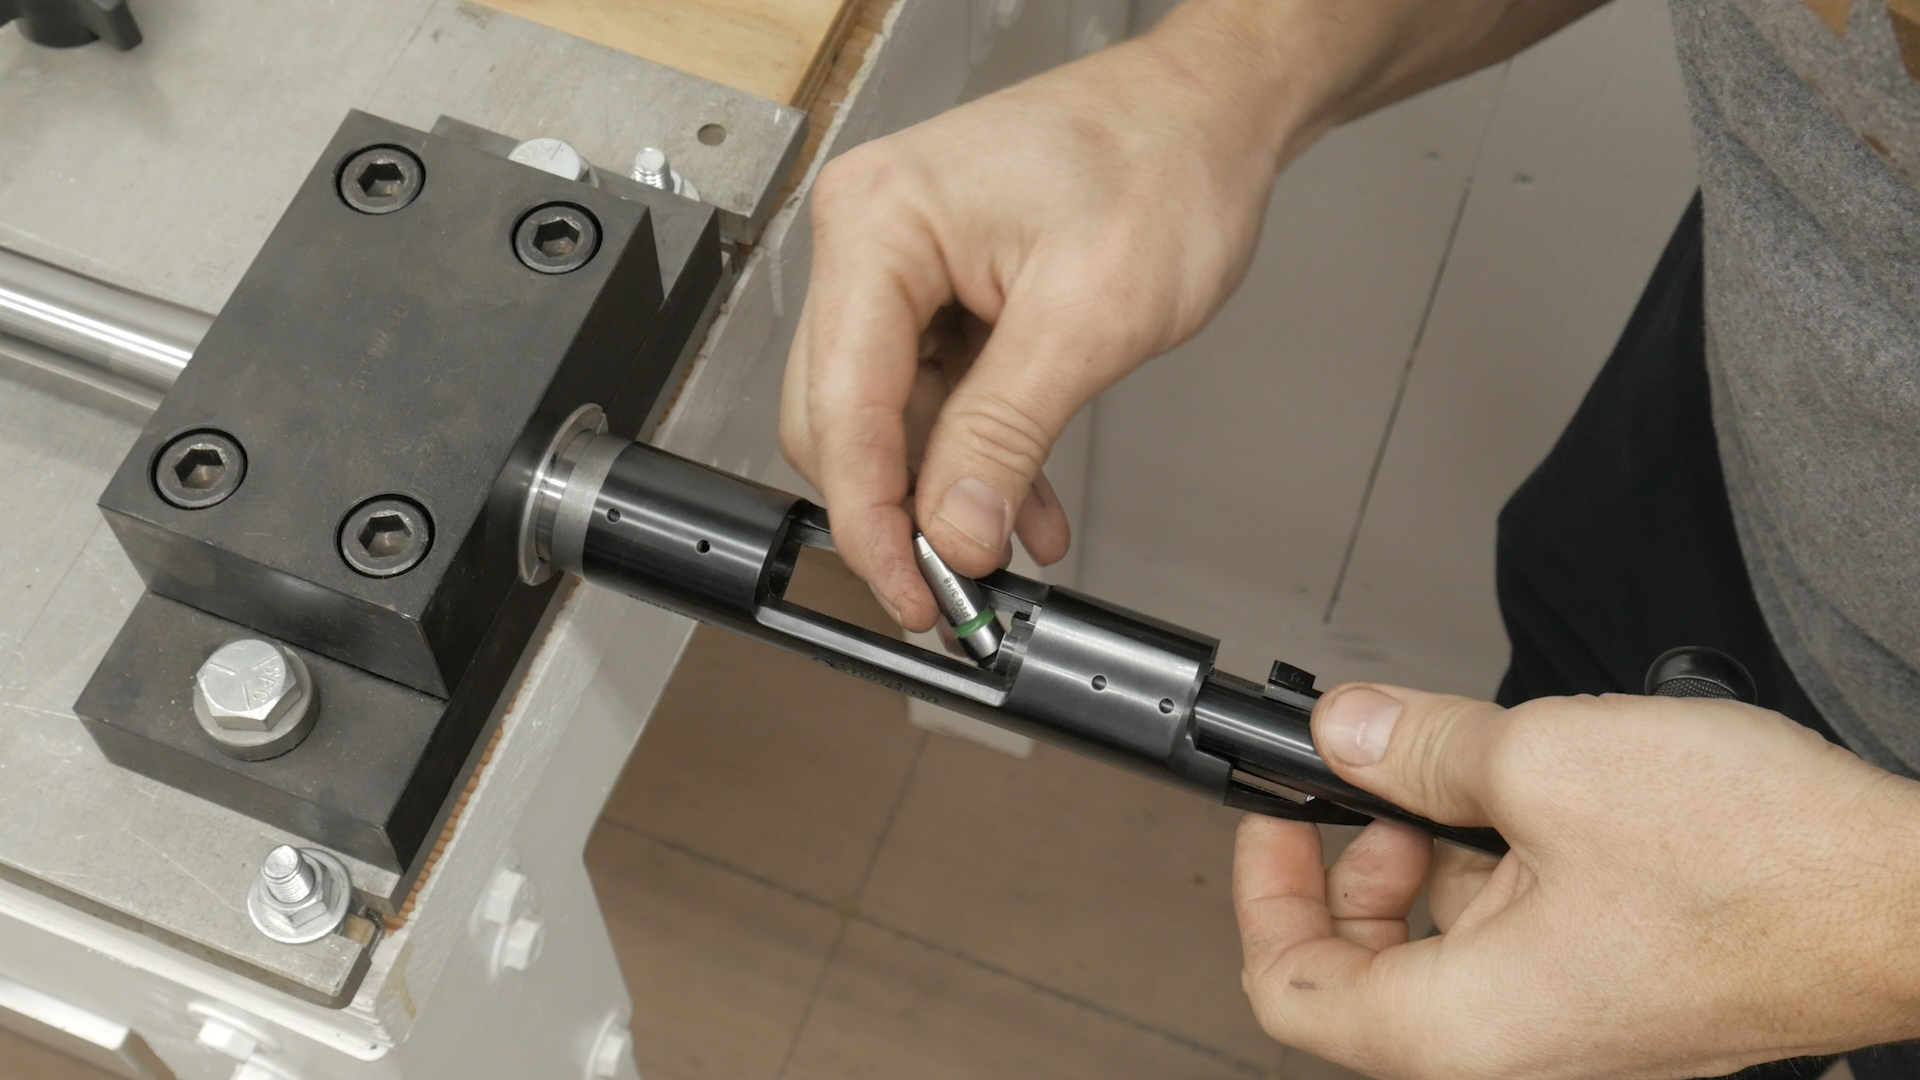
And………………. The bolt won’t go down! YES! Headspace worked out perfectly.
My first Remington 700 custom rifle build (at least the hard parts) was now complete. What a great feeling. Next we’ll take a look at making a custom thread protector- you won’t want to miss that: Make sure you’re subscribed!
Thanks,
Gavin