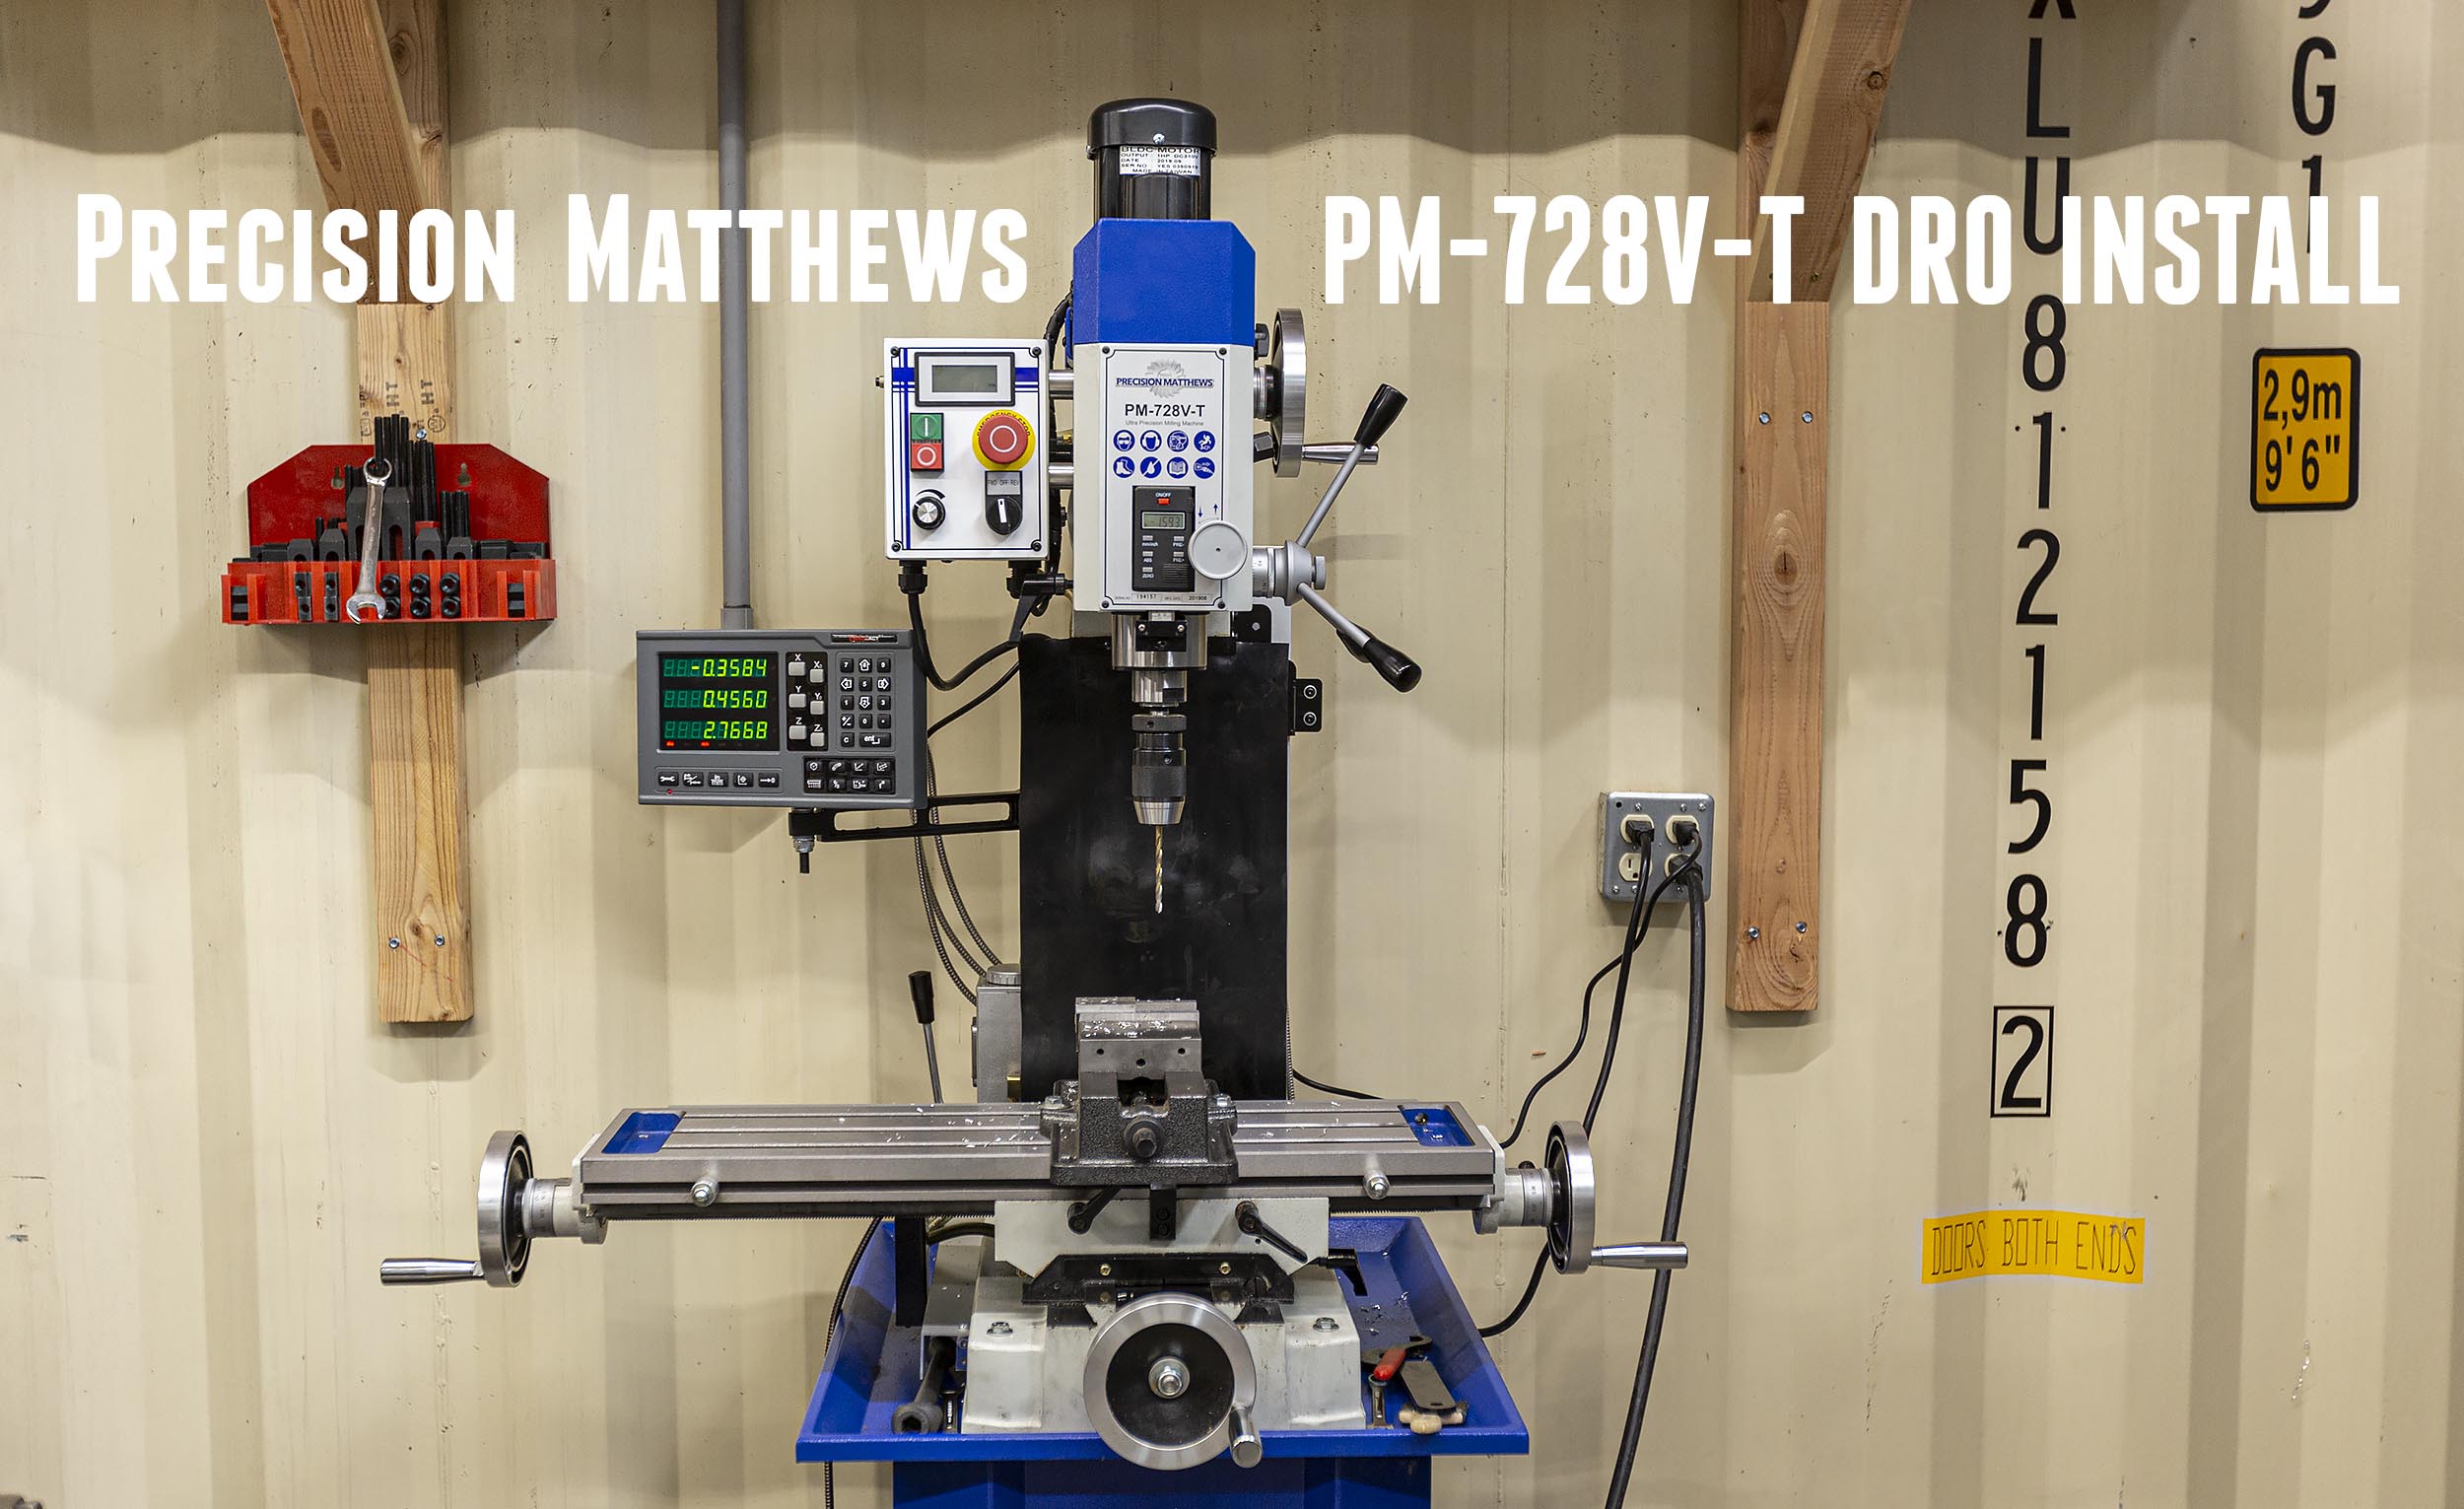
No milling machine is complete without a DRO, and I’ve finally installed one on my Precision Matthews PM-728V-T! Now I can use this machine to its full potential! In this article I’ll give an in-depth review of the MagXact magnetic 3-axis DRO that’s optional with the Precision Matthews PM-728V-T.
What’s In the Box
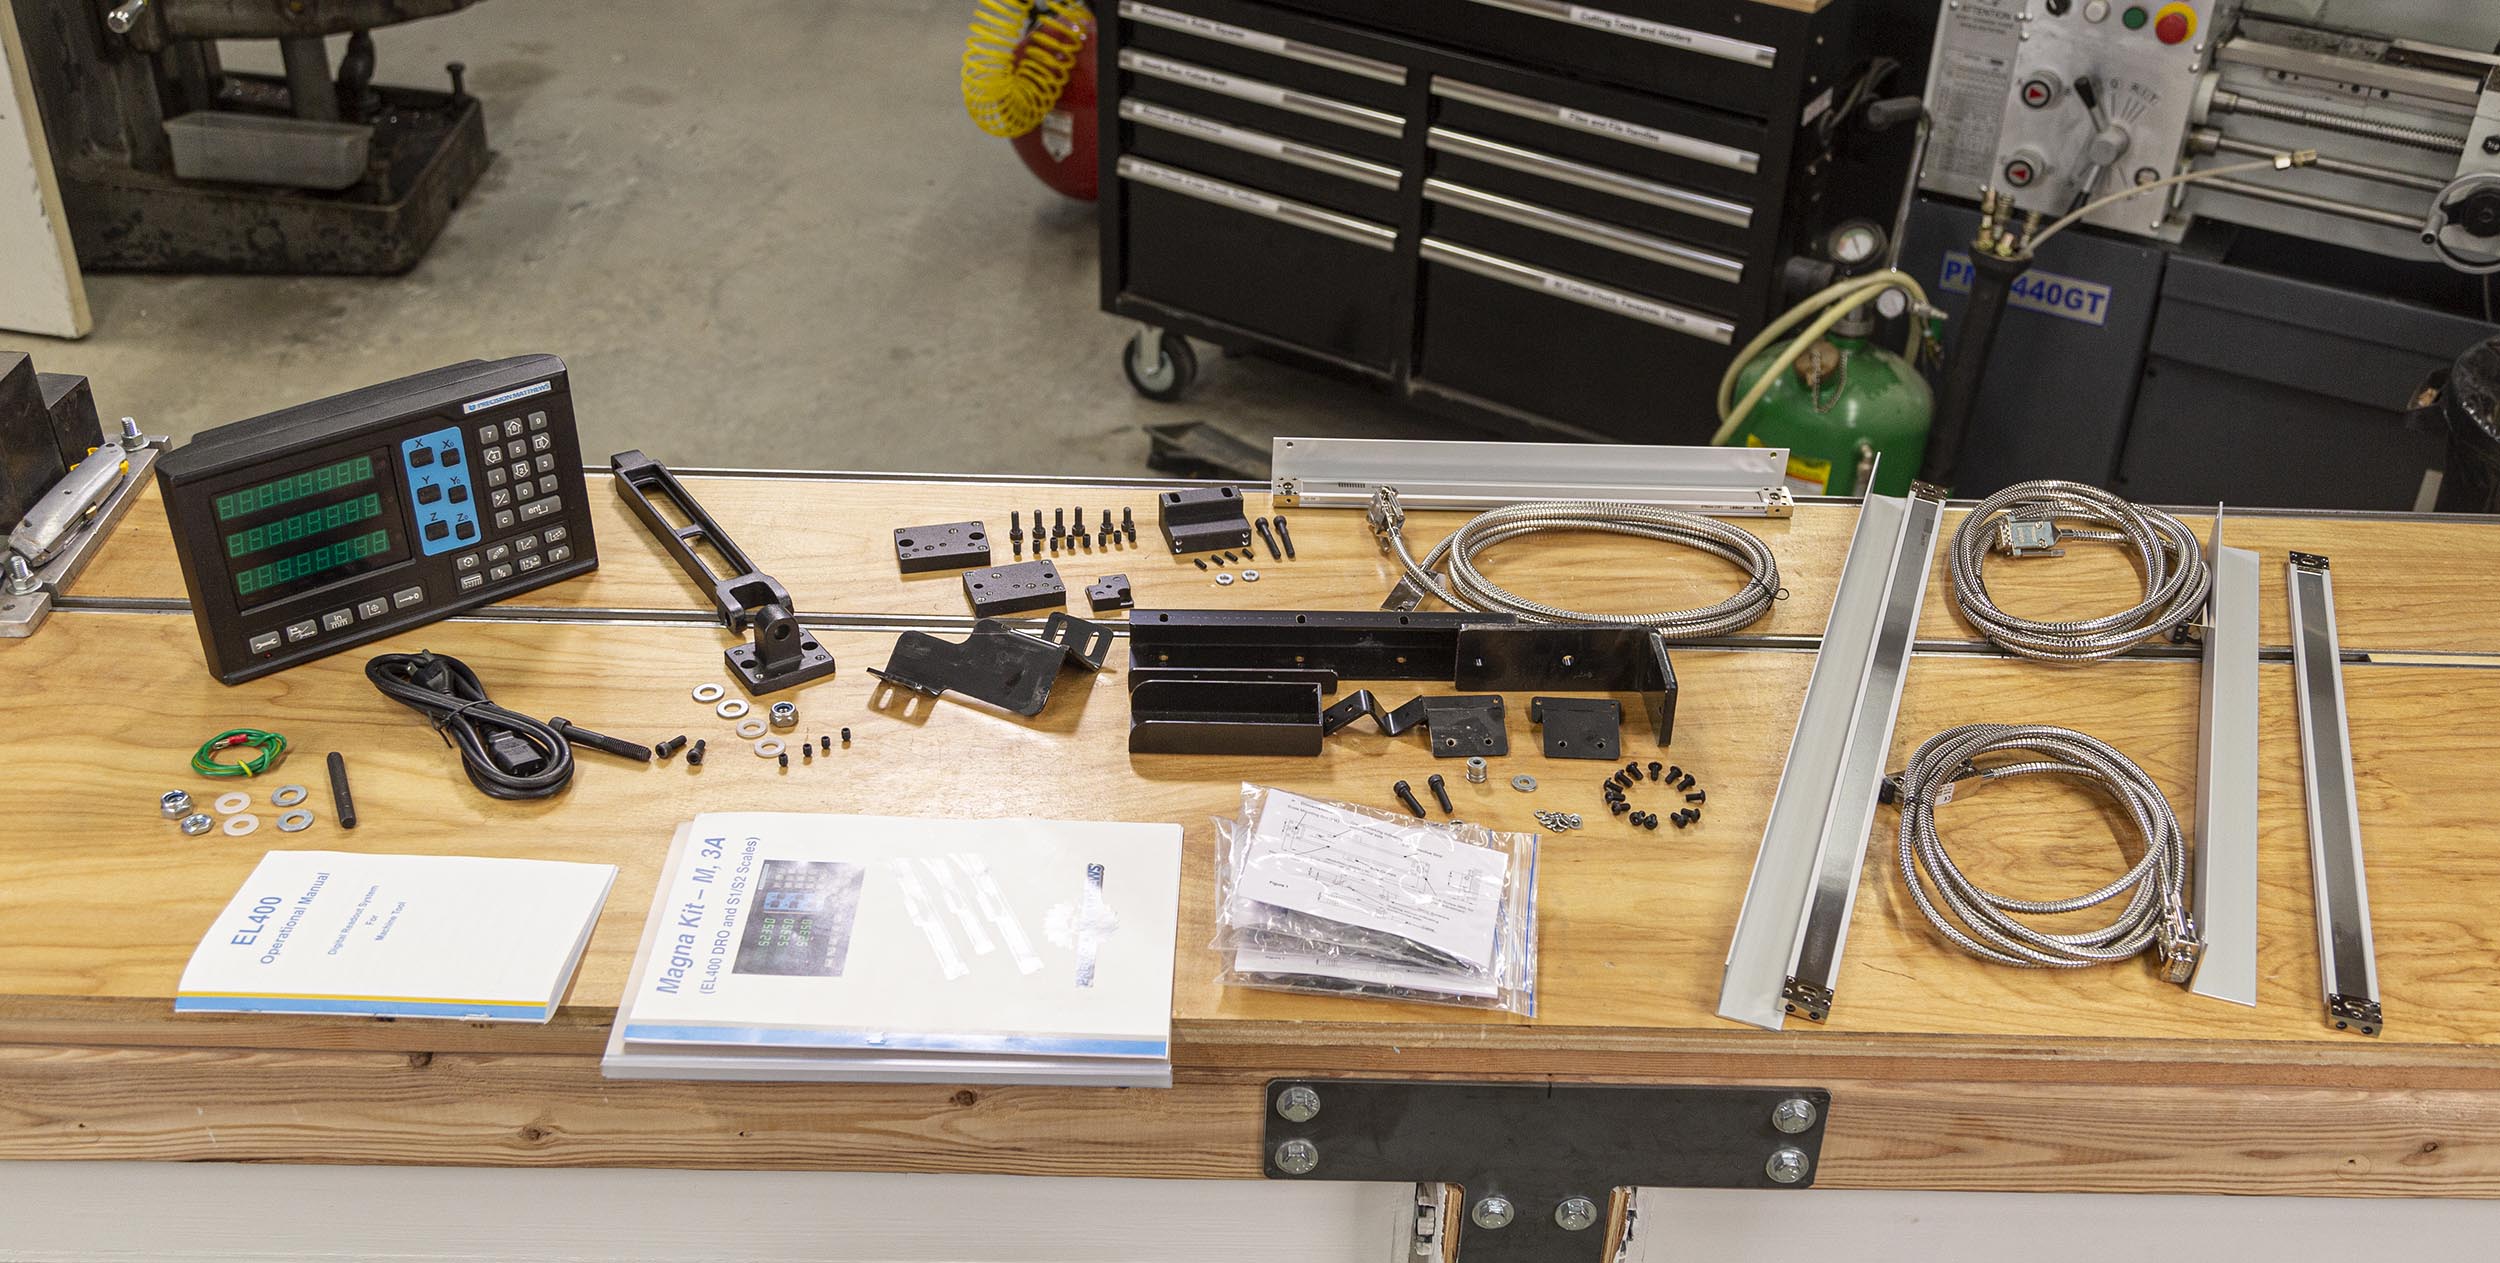
Here’s all of the parts and pieces included with this DRO**
- DRO display and power cord** – note that the appearance of the display has been changed slightly (See video)
- DRO display articulated mounting arm and hardware
- DRO scale mounting brackets
- High-Precision DRO scales (3), X, Y, Z
- High-Precision DRO reader heads (sensors)
- Manuals and literature
The only tools you’ll need to install the DRO are:
- Allen key set
- Drill bit and tap (I used #10 24TPI)
- Measuring tape and digital calipers or similar
Installing the DRO
Installing Scales and Readers
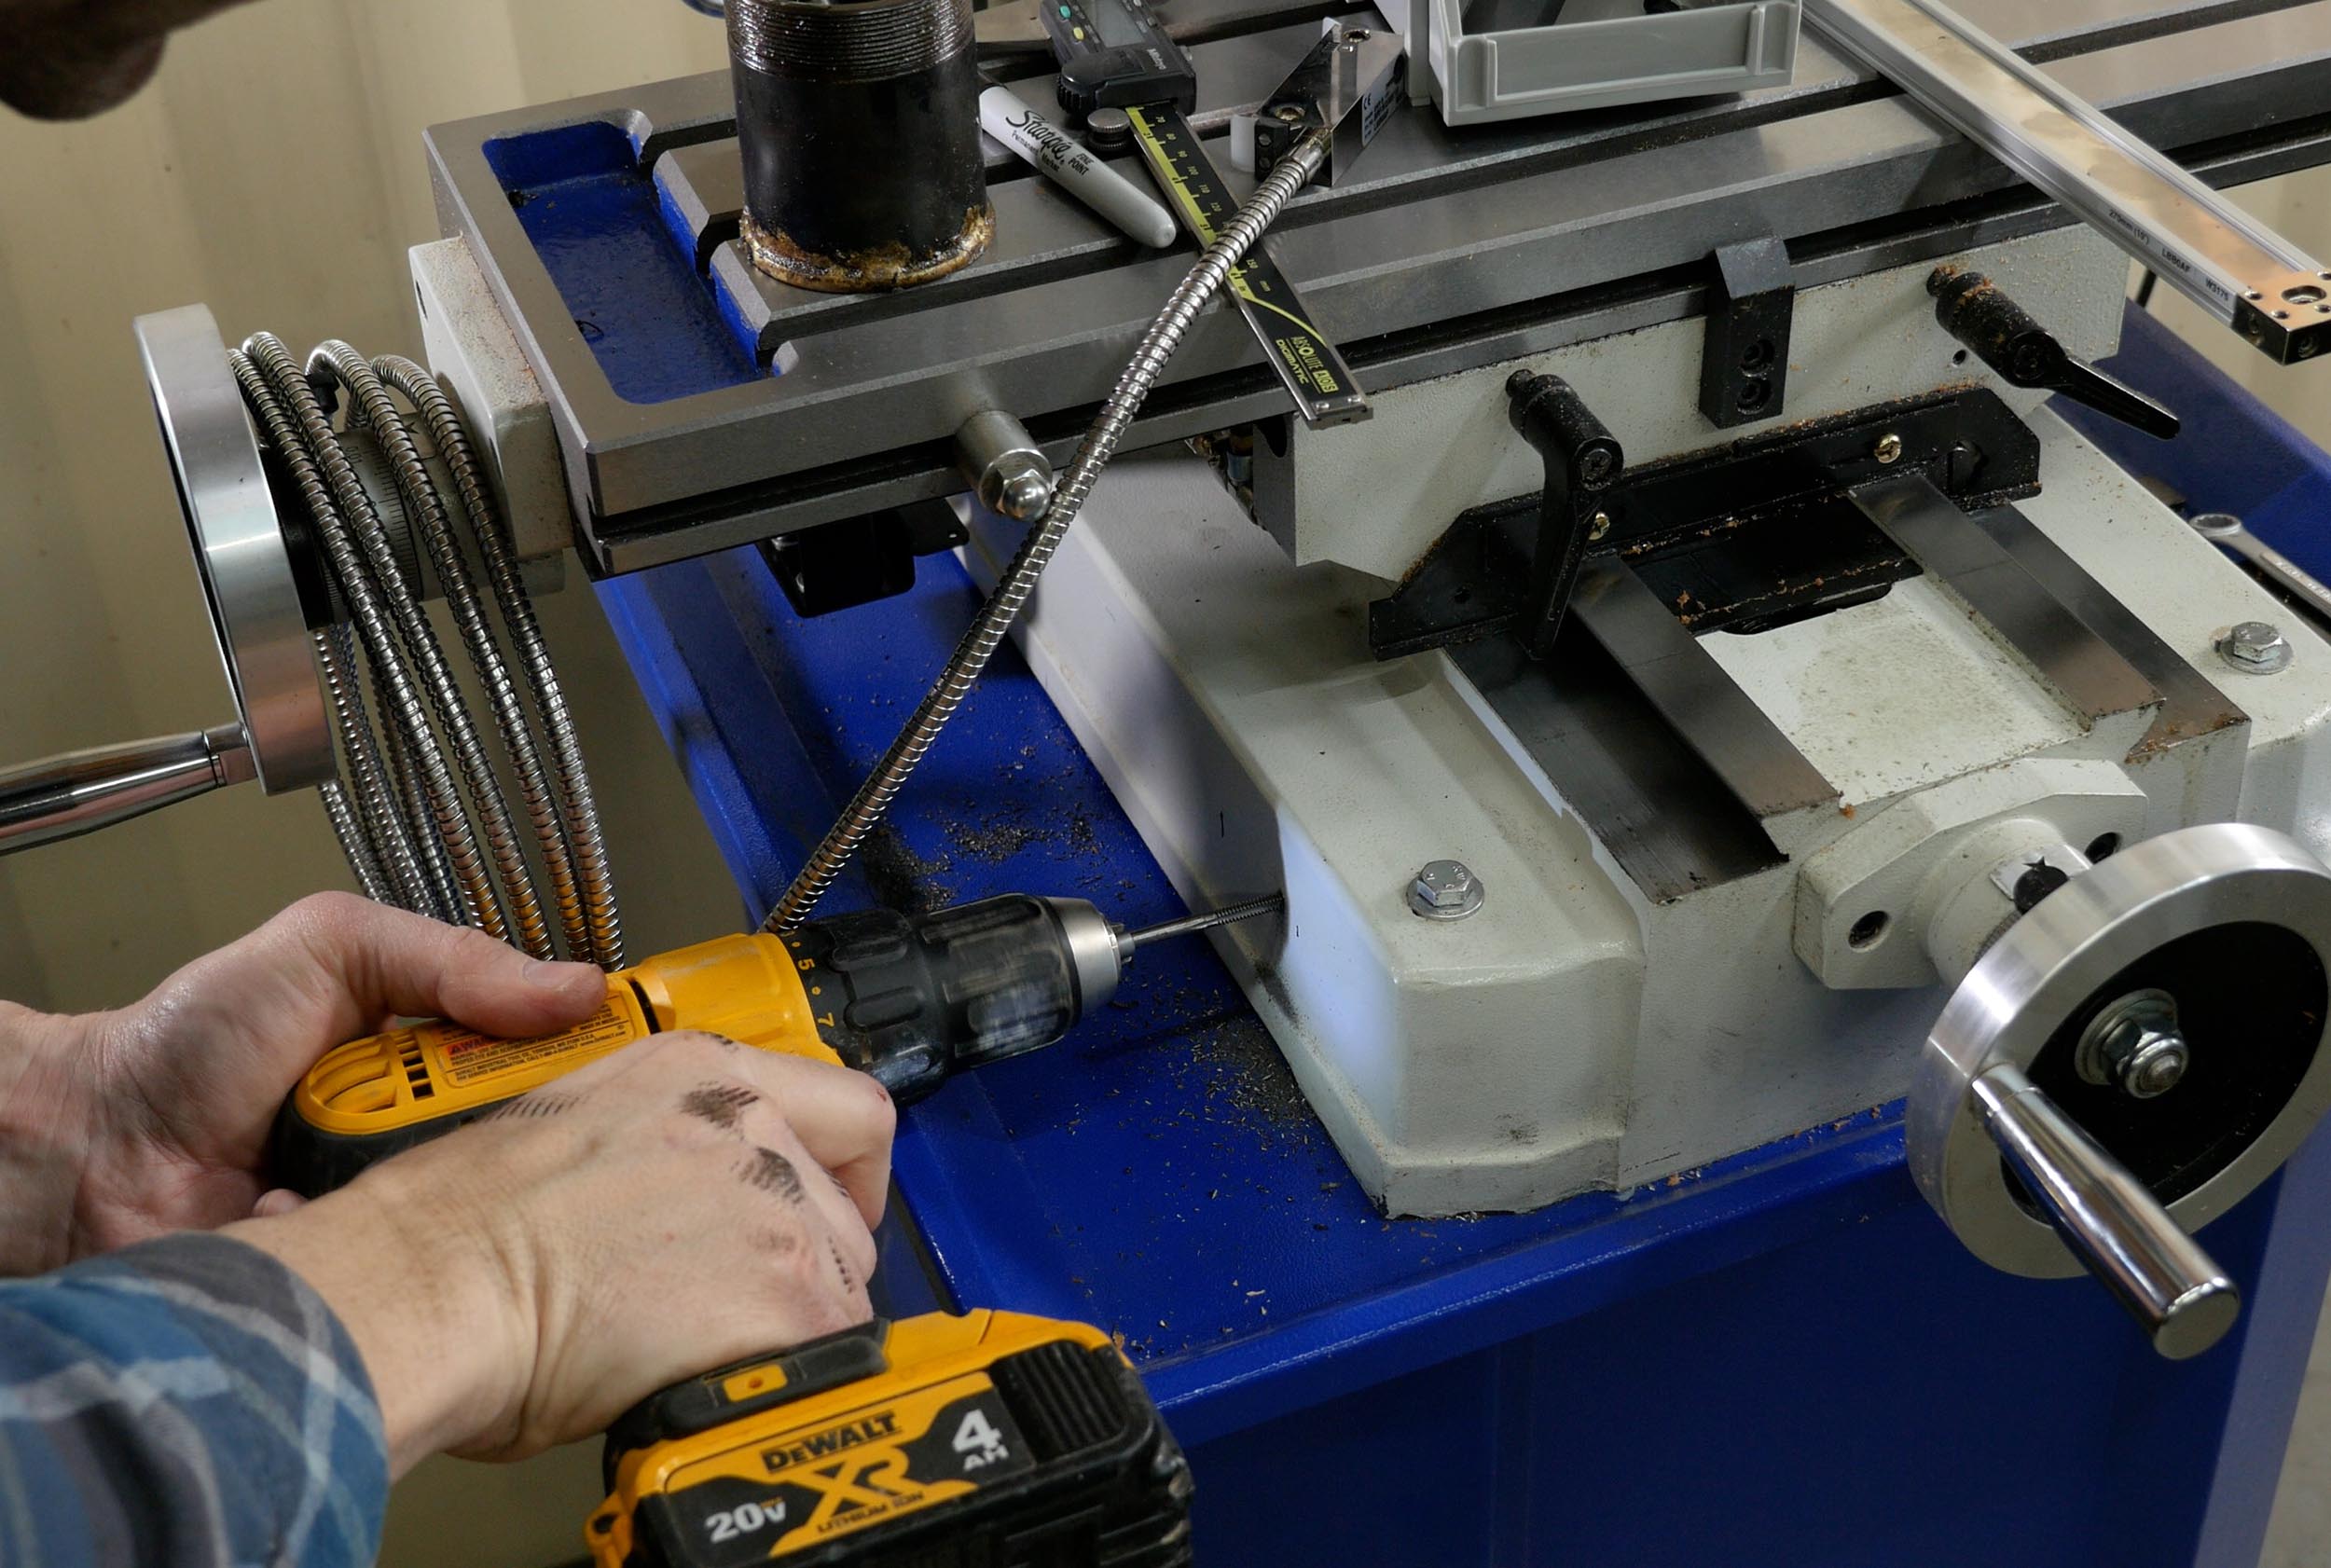
For each measurements axis, you’ll perform the following:
- Check movement range for that axis- mark centered position for scale
- Drill and tap holes for scale
- Mount scale (Z has a top bracket, X and Y mount directly to machine base)
- Mount reader head bracket
- Mount reader head
Mounting Display
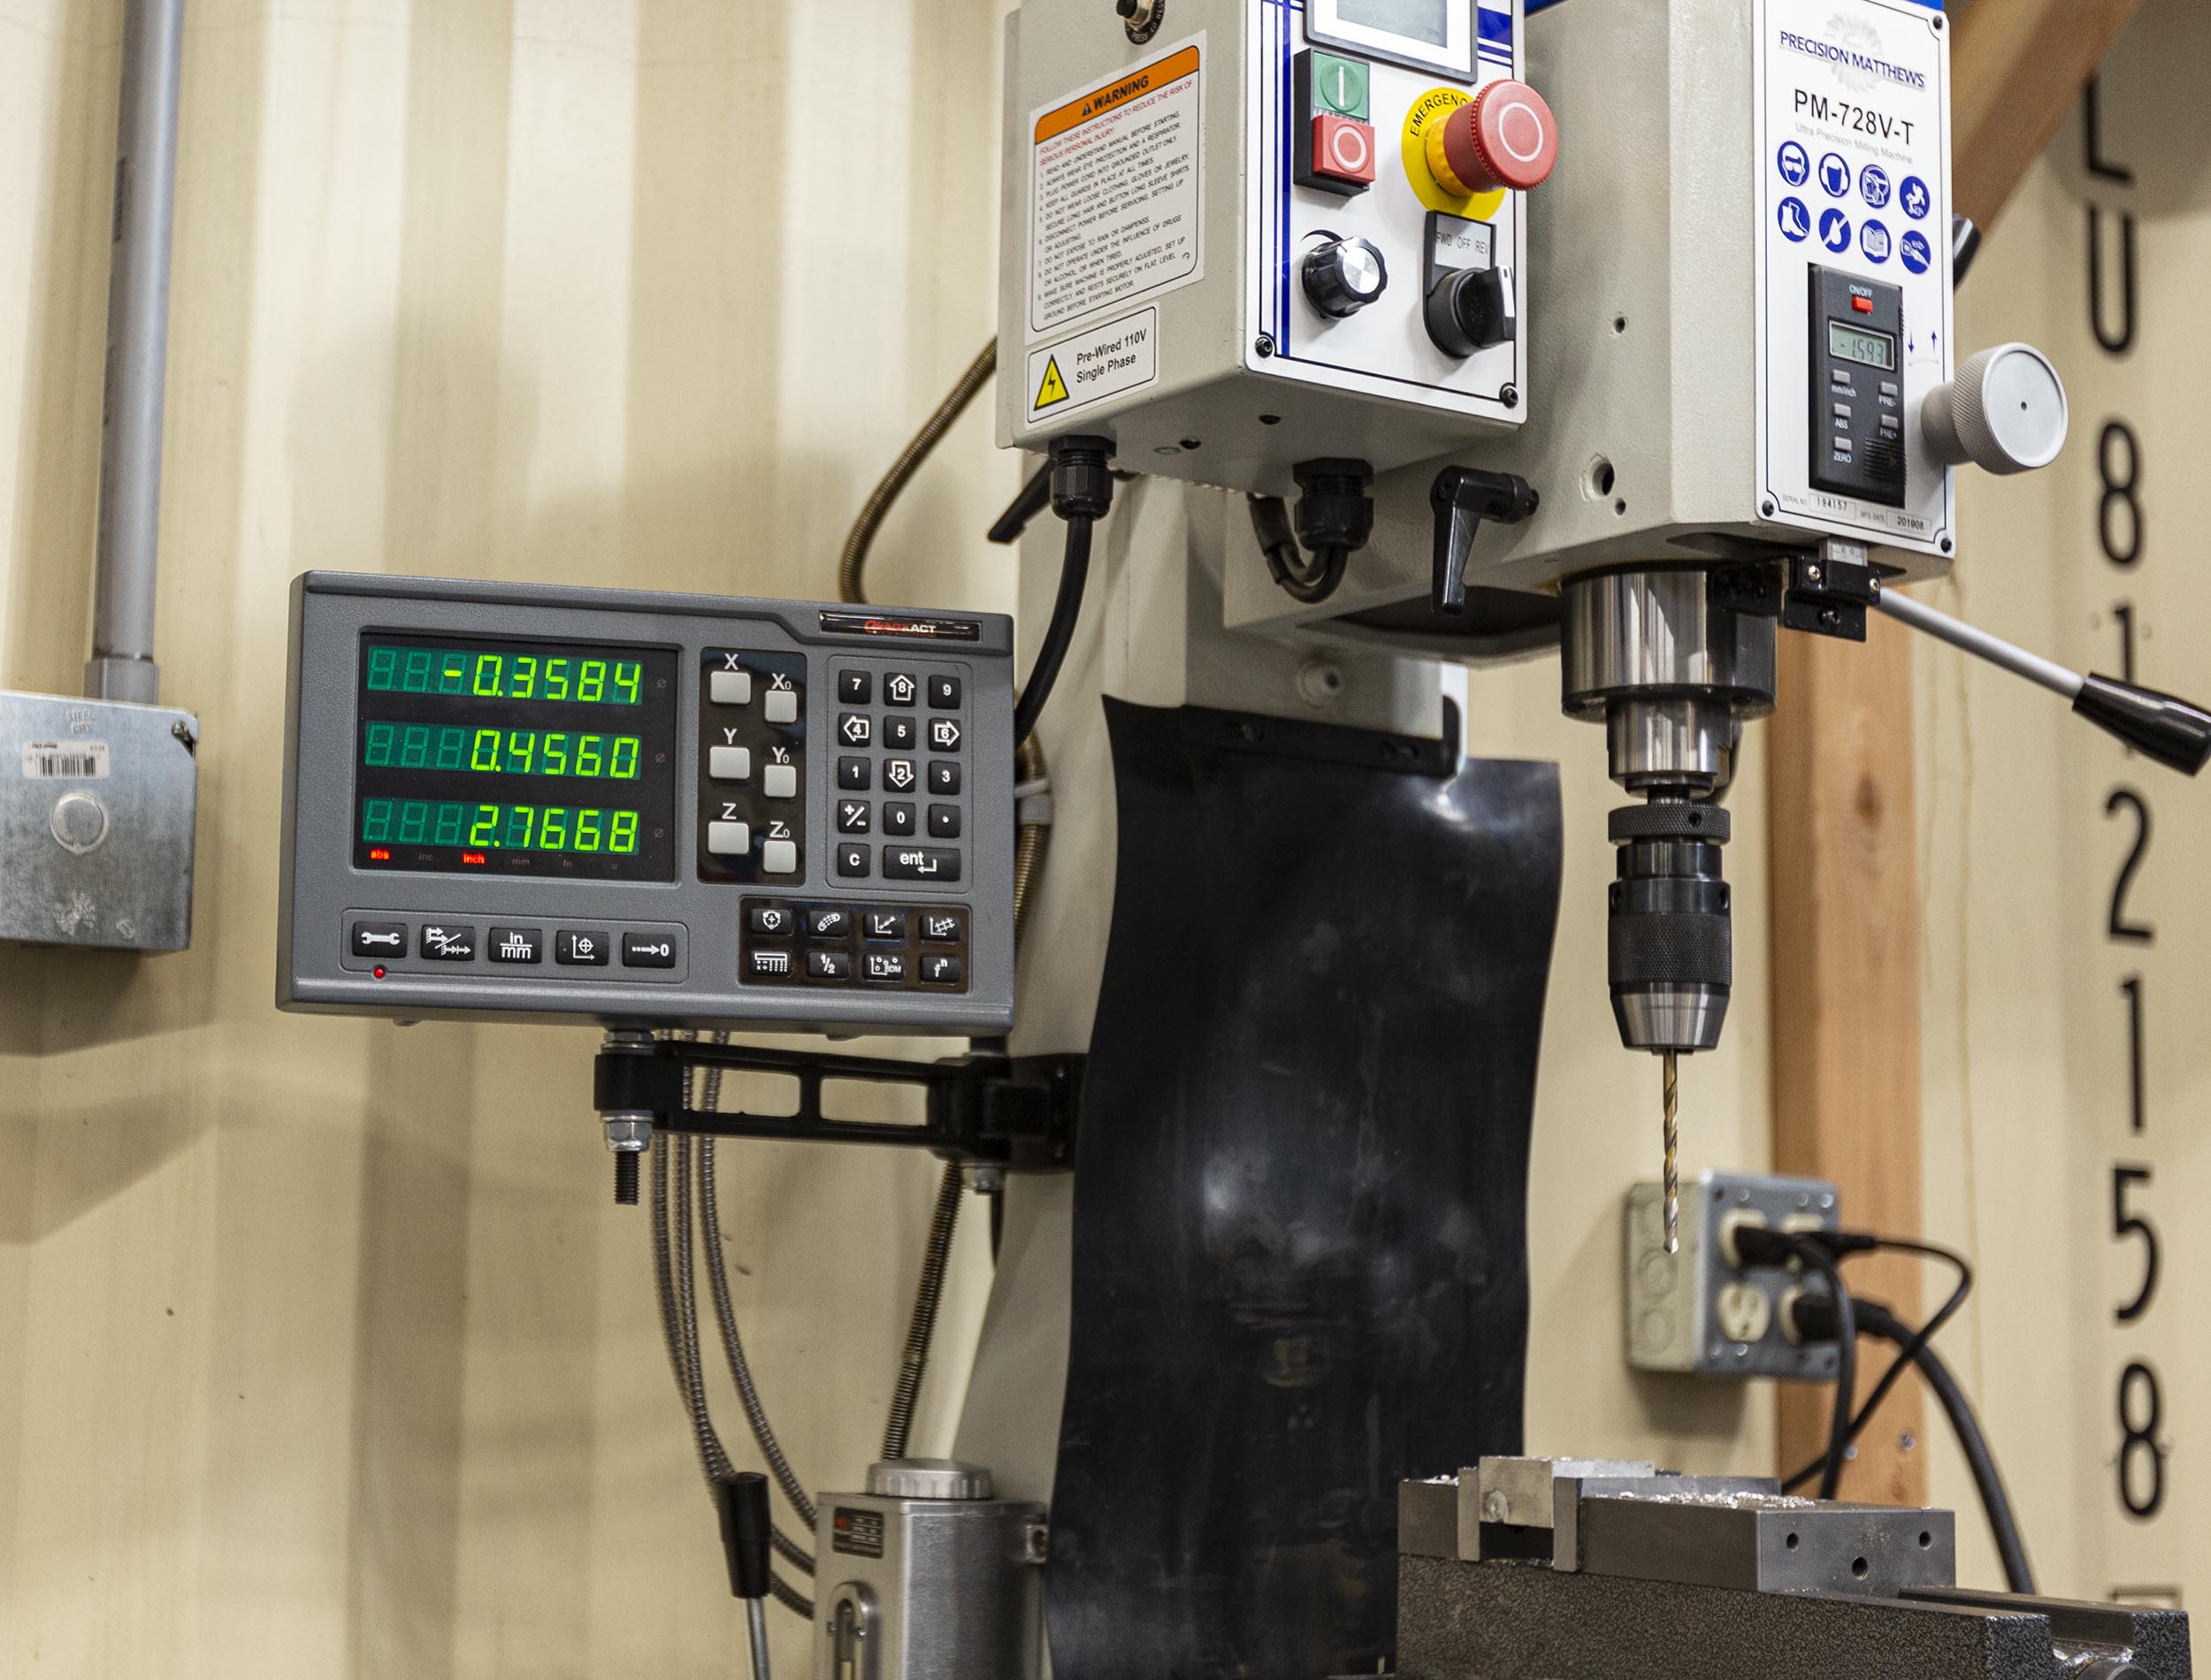
The display needs to be mounted somewhere where it won’t get in the way- the best place I could find was lower on the left-hand side of the machine as pictured above (note updated display, this is what you’ll get if you order one).
Here are the steps to mount the display:
- Mark location on machine casting
- Drill and tap two holes (I used 1/4″ 20 TPI)
- Use four leveling screws to level mount (so that display doesn’t hang at angle) and tighten mounting screws
- Route reader head cables to back of display
- Plug in reader cable connectors, gently tighten screws to secure connector
Checking the DRO
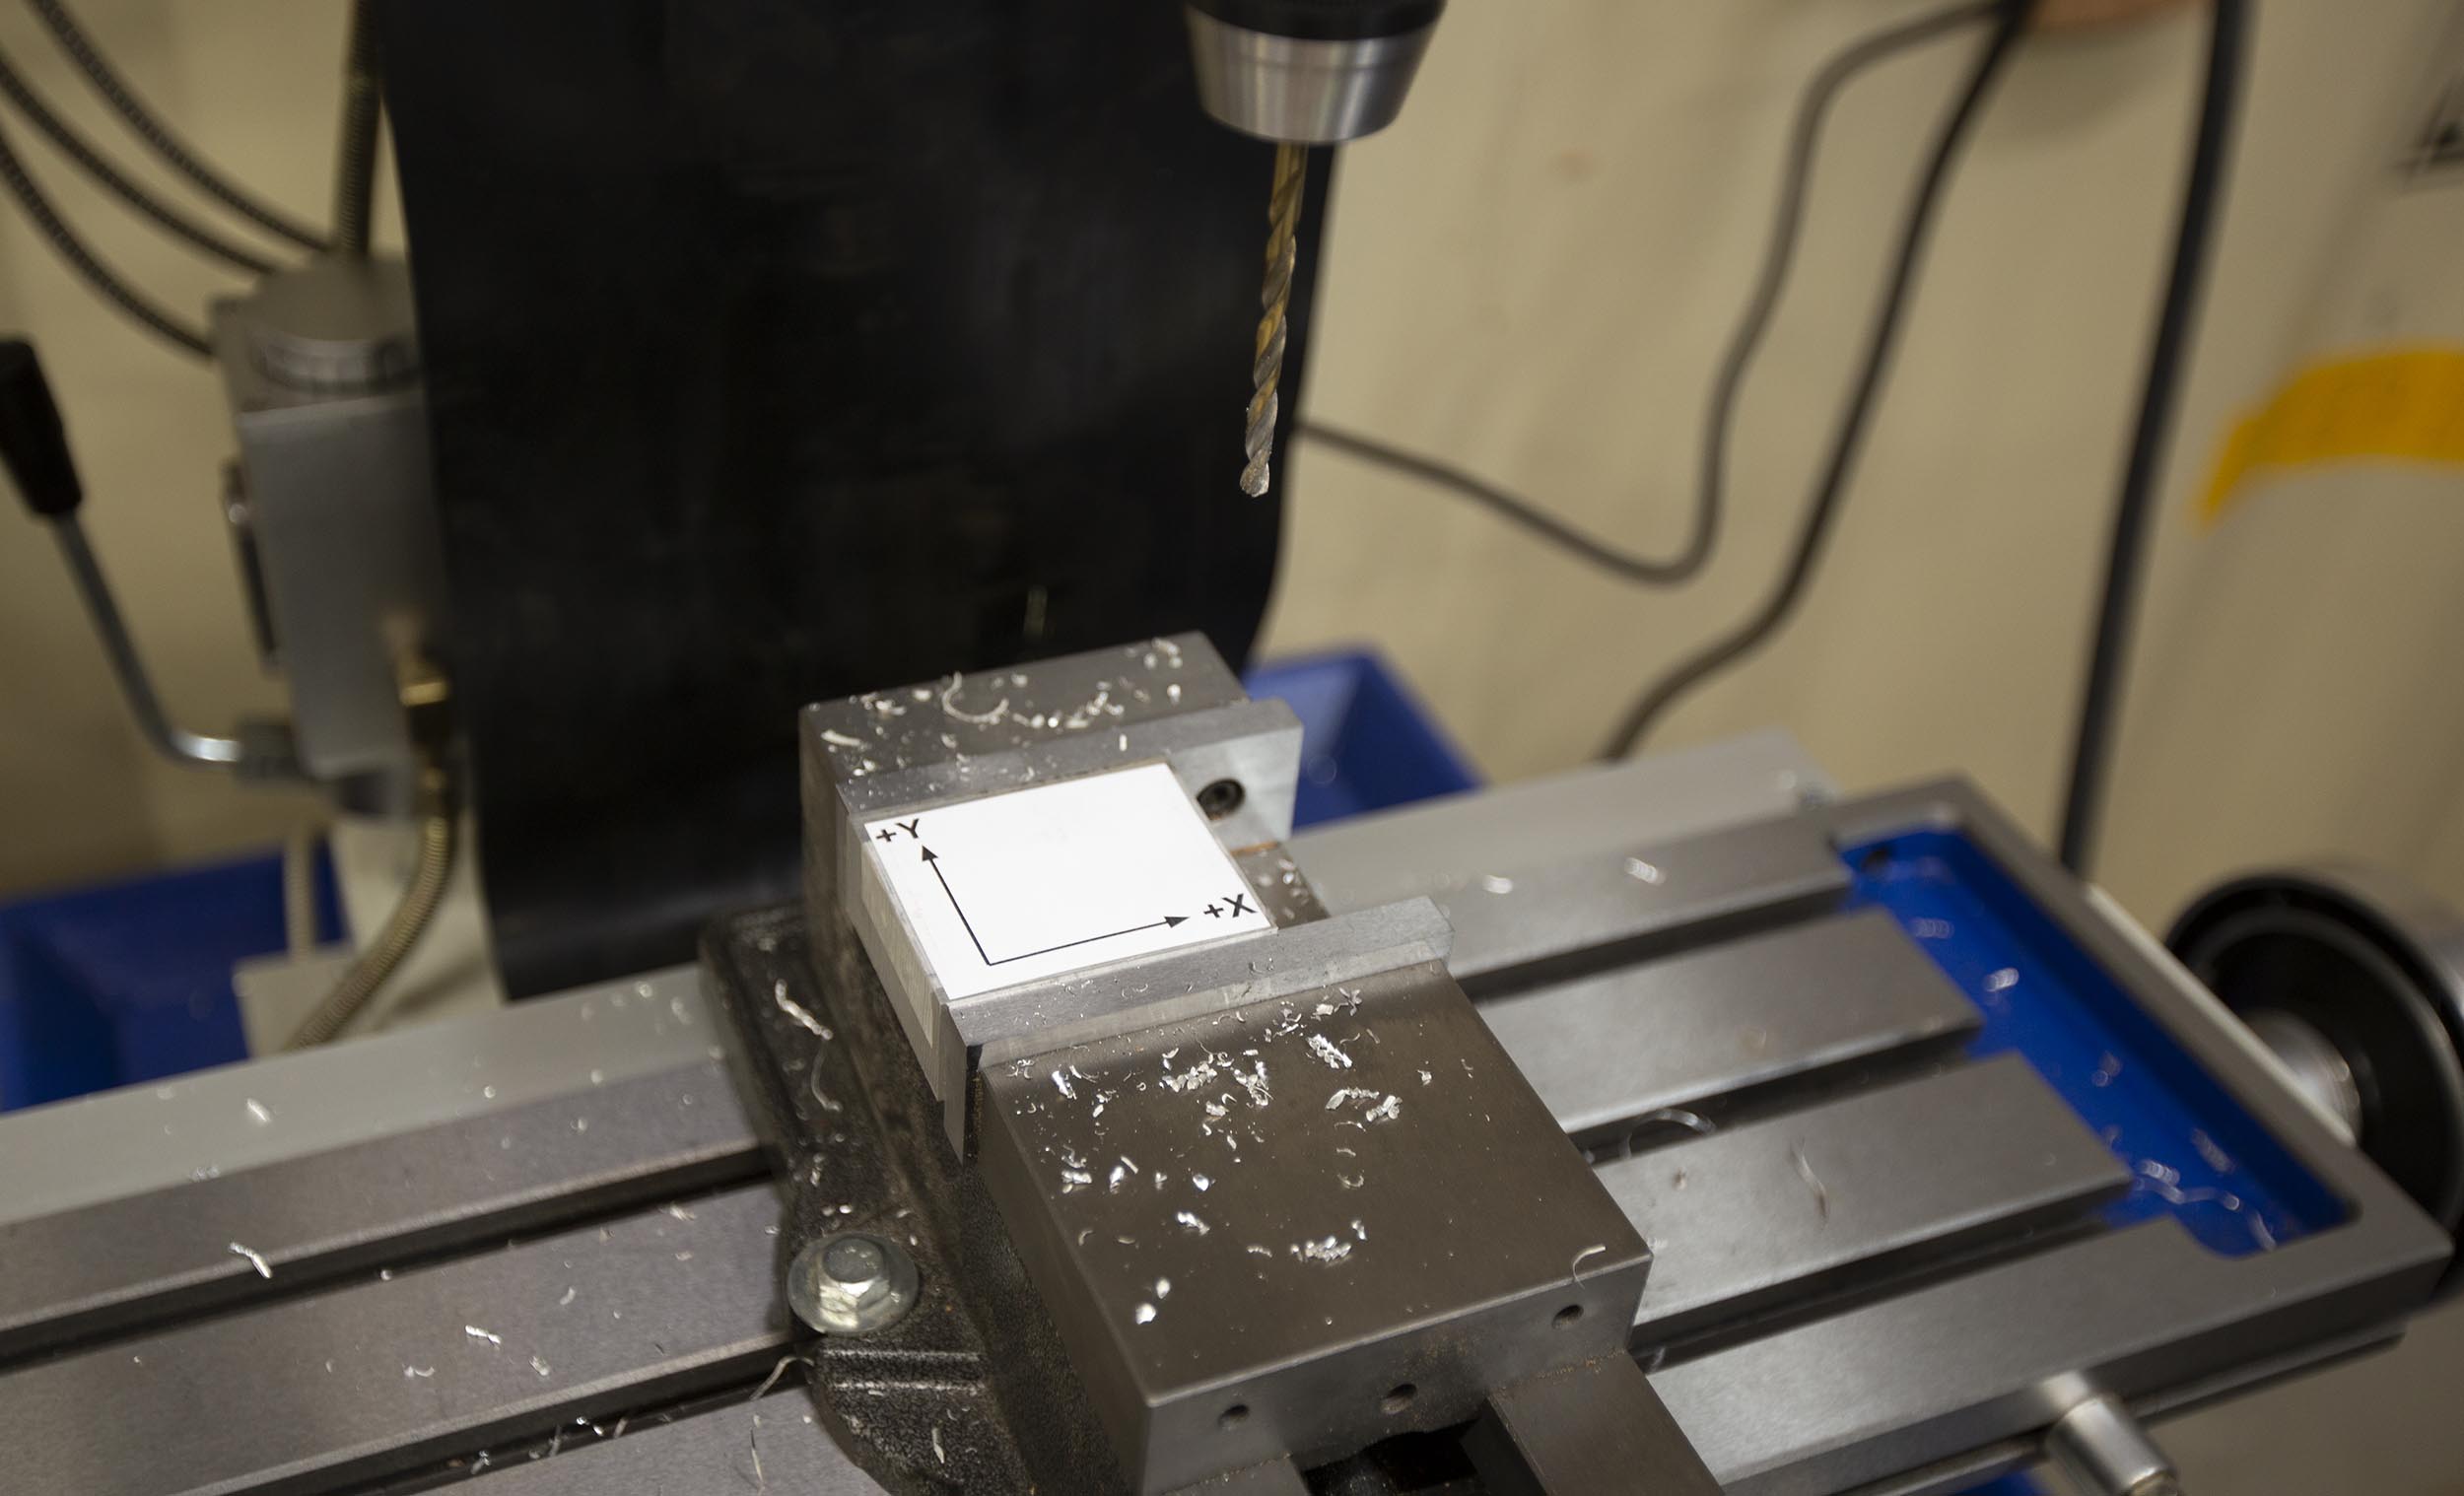
While there are multiple ways you can setup your DRO, the axis orientations shown above are what make most sense to me (and what are typical in a machine shop). These arrows indicate tool movement in the positive direction (and there’s an imaginary +Z arrow pointing up out of the top surface plane on the diagram). If any of the movements are not correct, it’s a simple matter to change them in the settings of the DRO system.
More on the PM-728V-T:
In case you missed it, I have a full story (overview) covering the PM-728V-T. Here’s the video from that story:
Get Yours
If you are interested it this milling machine (with or without DRO), you can read up more on it or order it HERE:
Don’t miss out on Making With Metal, make sure you’re subscribed!
Thanks,
Gavin