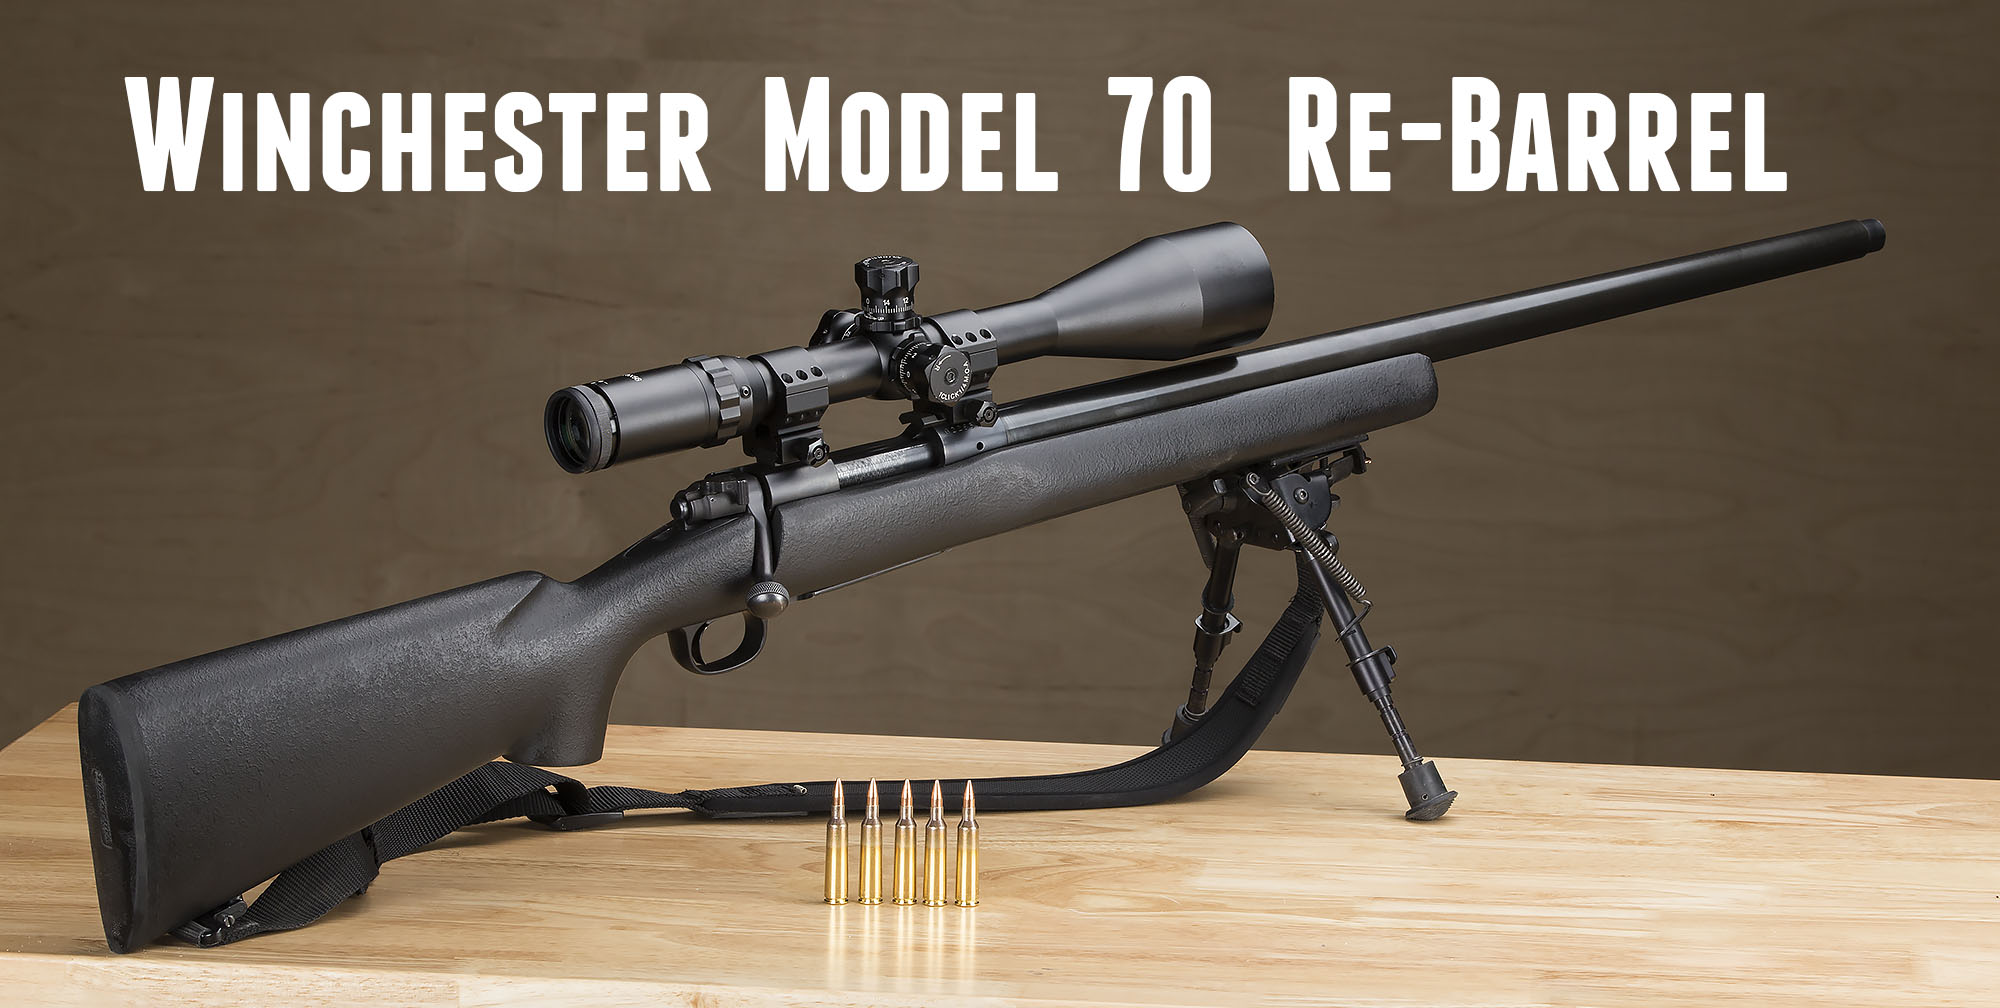
Metalworking and shooting are both passions of mine, so it follows that gunsmithing would be a natural fit. For me, here’s a powerful draw towards gunsmithing projects that involve accurizing, enhancing, and re-building firearms. So when I discovered that my Winchester Model 70 Heavy Varmint 22-250 rifle needed a new barrel fitted, I dreamed about doing the job myself. Part of the draw towards this project was the challenge, part of it was the learning experience, and another part was unlocking a capability (chambering and re-barreling) that would enhance my shooting capabilities. At that moment I started on a journey that would take years to unfold, and would culminate with the barrel break-in of my freshly rebuilt rifle. Few projects in my life have resulted in such a sense of accomplishment and satisfaction. This is the story of this journey and experience.
For reference, here’s the complete content series:
- Winchester 70 Rebarrel Part 1: Overview (you are HERE)
- Winchester 70 Rebarrel Part 2: Start to Finish Process
- Winchester 70 Rebarrel Part 3: Tools of the Trade
Disclaimer
Ultimate Reloader LLC / Making with Metal Disclaimer: (by reading this article and/or watching video content you accept these terms)
- The content on this website (including videos, articles, ammunition reloading data, technical articles, gunsmithing and other information) is for demonstration purposes only.
- Do not attempt any of the processes or procedures shown or described on this website.
- All gunsmithing procedures should be carried out by a qualified and licensed gunsmith at their own risk.
- Do not attempt to repair or modify any firearms based on information on this website
- Ultimate Reloader, LLC and Making With Metal can not be held liable for property or personal damage due to viewers/readers of this website performing activities, procedures, techniques, or practices described in whole or part on this website.
- By accepting these terms, you agree that you alone are solely responsible for your own safety and property as it pertains to activities, procedures, techniques, or practices described in whole or part on this website.
Now, on to the story!
The Rifle
The Winchester Model 70 Heavy Varmint had immediate appeal when I first saw it at D.J.’s Loan and Sport in Bothell Washington. I asked to see the rifle, and when it was handed to me I thought: “Wow, that is substantial”. For a varmint gun, I thought 22-250 would be ideal. Super-fast velocities and reasonable recoil, especially in such a heavy rifle. I bought the rifle, and enjoyed shooting it, especially after fitting a Rifle Basix Adjustable trigger which I tuned down to about 14oz.
Here’s a picture of the rifle before the rebarrel job: (click/tap to enlarge)
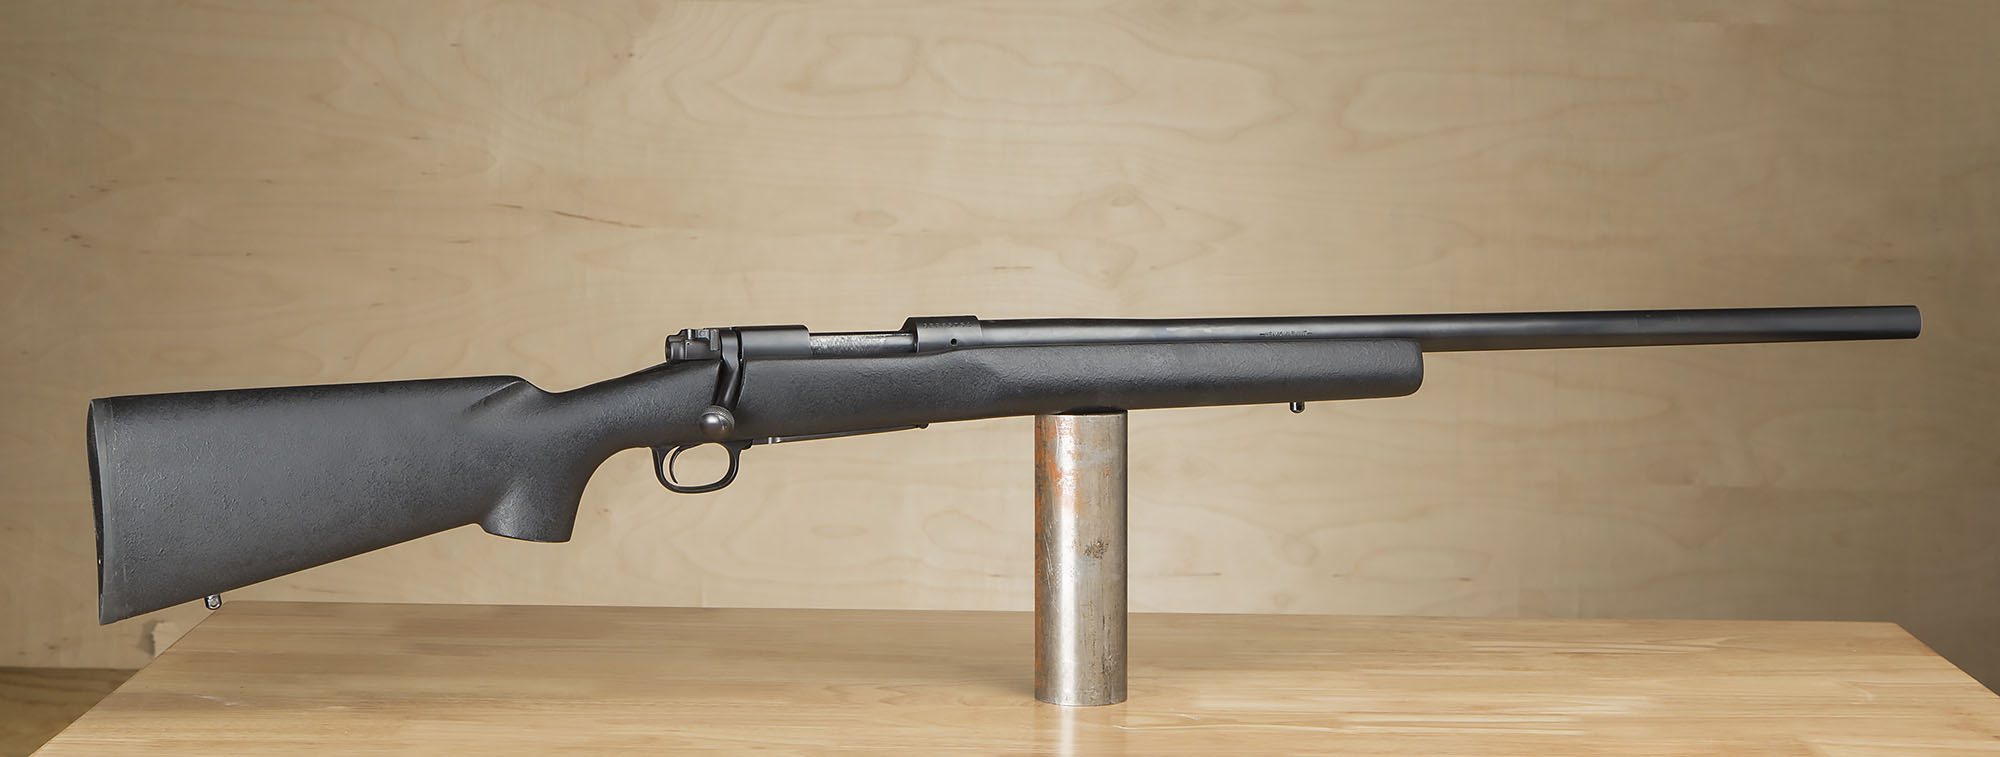
Shooting this rifle is a dream- it’s super-stable, the trigger is awesome, and the recoil is minimal due to the heavy weight of this rifle. There was one thing I struggled with however- it wouldn’t group well. I tried different loads which included different bullets, different brass, different powders, and different primers. Nothing would get this rifle to group under 1 1/4″ consistently. I KNEW this rifle was capable of much more than that, and figured the bore must have been toasted and roasted.
Before starting the rebarrel job a quick check with my new Lyman Borecam confirmed the diagnosis:
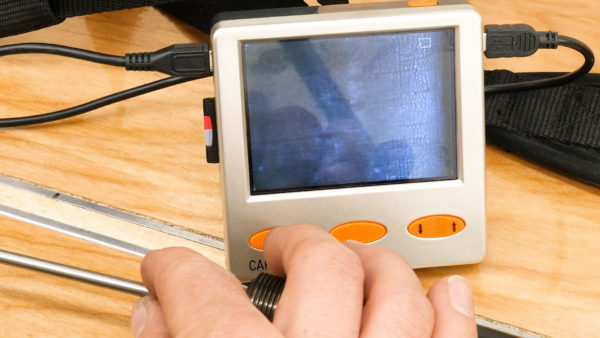
This was one of those moments where I kind of laughed with relief- “now I know this gun will shoot with a new barrel” – a great revelation. Kind of like when you pull out an automotive part you suspected was bad, and it’s worn beyond recognition.
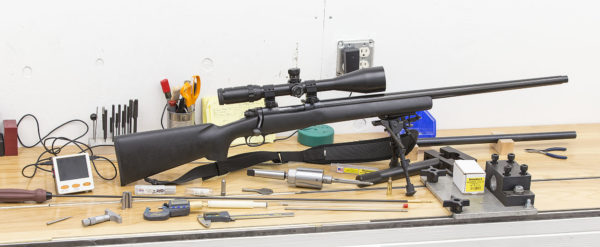
Back to the beginning of the story- I knew I would need a lot of help, and a lot of tools, supplies and equipment to do this rebarrel job. I also knew that I’d need to take my time and “do everything right”. I had exacting standards for the final outcome *and* didn’t want to blow myself up. I already had extensive lathe experience, so I felt confident I could chamber rifles. I knew I was taking on a huge challenge- one I anticipated greatly.
Planning and Gearing Up
When it came to planning the build, I turned to my friends at Brownell’s who I had worked with on my AR-MPR precision AR-15 build with. Brownell’s has the best selection of gunsmithing tools out there, and they are a great family owned business to work with. This would be a “classic 22-250 varminter build” – so we arrived at the following (more details in my follow-up post coming soon):
- Shilen Match-Grade 22 caliber chromoly barrel, 1:12 twist, #7 profile
- Brownell’s Action Wrench for Winchester Model 70
- Brownell’s Barrel Vice and appropriate aluminum bushings
- Manson Precision Reamers 22-250 solid pilot finisher reamer
- Clymer Go and No-Go gauges in 22-250
The action wrench and barrel vice would be “fixtures in the shop” – and would be used for a variety of projects, and the reamer/gauges would be for this project (and any subsequent 22-250 chambering I would do). It was very exciting to get these tools and supplies, but what to do about machinery?
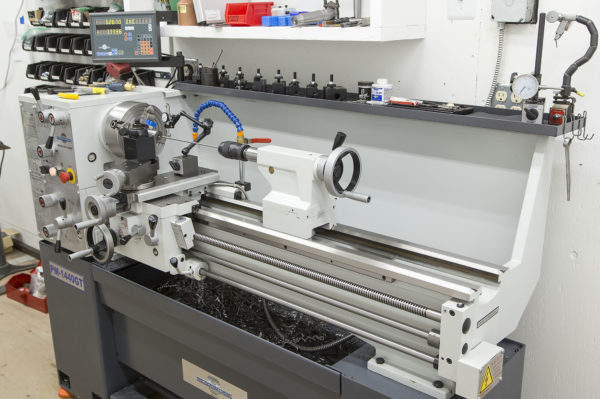
I set out on a path accessorizing my trusted Logan 11×36″ lathe getting it ready for gunsmithing, including building an outboard spider. But after contemplating my goals (which include chambering 50 BMG) I thought it would be a good time to upgrade machinery. So I upgraded my lathe to a Precision Matthews PM-1440GT (precision Taiwanese lathe with Japanese spindle bearings, 2″ thru-spindle capacity and much more) you can read my first story about this lathe HERE.
While I was at it, I also ordered a Precision Matthews PM0949-TV 3hp Bridgeport-Style Mill. More on that to come! This project was starting to get “extreme” – as if I was putting together a rifle shop for my own personal use. Perfect. But I still needed to learn a TON before taking on this gunsmithing endeavor.
Learning, Research, New Friends
Rebarreling a rifle is an exacting process- and information related to this craft is “sprinkled here and there” both in printed media, and on the internet. So I set out to find the materials I would need to figure out what I was doing. My first acquisition was the John. L. Hinnant book “The Complete Illustrated Guide to Precision Rifle Barrel Fitting”, published in 2003, available from Brownells HERE. (They have it for $38.99, where Amazon has it for $134, go figure!).
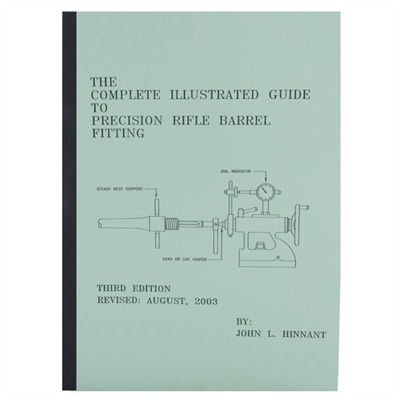
This book was a fascinating read, and a good foundation of knowledge to start with. In this book, John walks through chambering fundamentals, fabrication/adaptation of some of the required tools, action blueprinting fundamentals, and more. There’s also a great references section that has specifications for many of the popular rifle actions and designs in common use today. However, it’s really difficult to read the steps and fully understand them. Sure, there are some helpful diagrams in the book, but I was left with a bunch of questions. So I decided it was time to order the Gordy Gritters DVD “Chambering a Champion Match Barrel“.
This DVD proved invaluable- it answered many of the questions that I had, and I learned a LOT from watching Gordy go through his end-to-end match rifle chambering process. After reaching out to him directly, I found him to be a totally cool guy. He helped answer additional questions I had after watching his DVD, and also helped me get connected with additional interesting people in the industry.
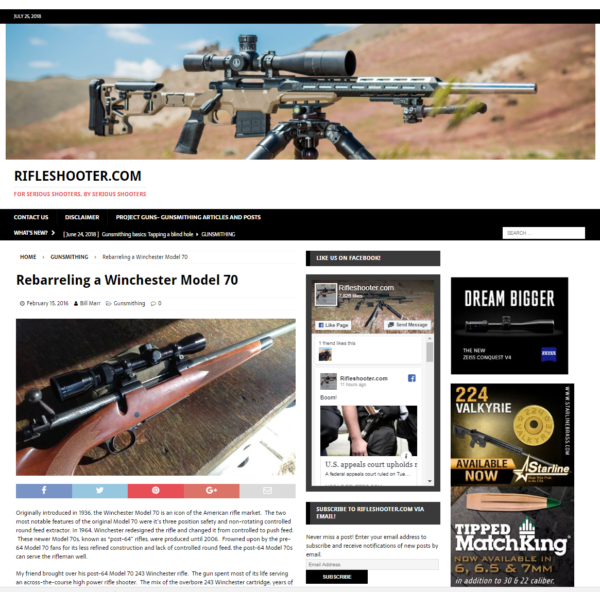
After getting my PM-1440GT lathe, I discovered that Bill Marr from http://rifleshooter.com also had a PM-1440GT. I reached out to him, and we talked on the phone at length about the lathe, my projects, his projects, a great discussion. That day I found a “fast friend”. His posts also outlined many of the specifics around the Winchester Model 70 platform that I would need to understand, such as this one: Rebarreling a Winchester Model 70.
At this point, I had read books, watched DVD content, consulted with multiple industry experts, and made a bunch of friends (like Mark LaFevers, a friend of Accurateshooter.com‘s Paul McMennamin). Mark like me chambers his own rifles in his own shop, and really enjoys the process.
Now it was time to take on the project!
Rebarreling the Winchester Model 70
I broke this project down into two phases: the “dress rehearsal” and the “main event”. I’ll be posting a more in-depth article and video outlining the process, but I wanted to talk through the experience here first.
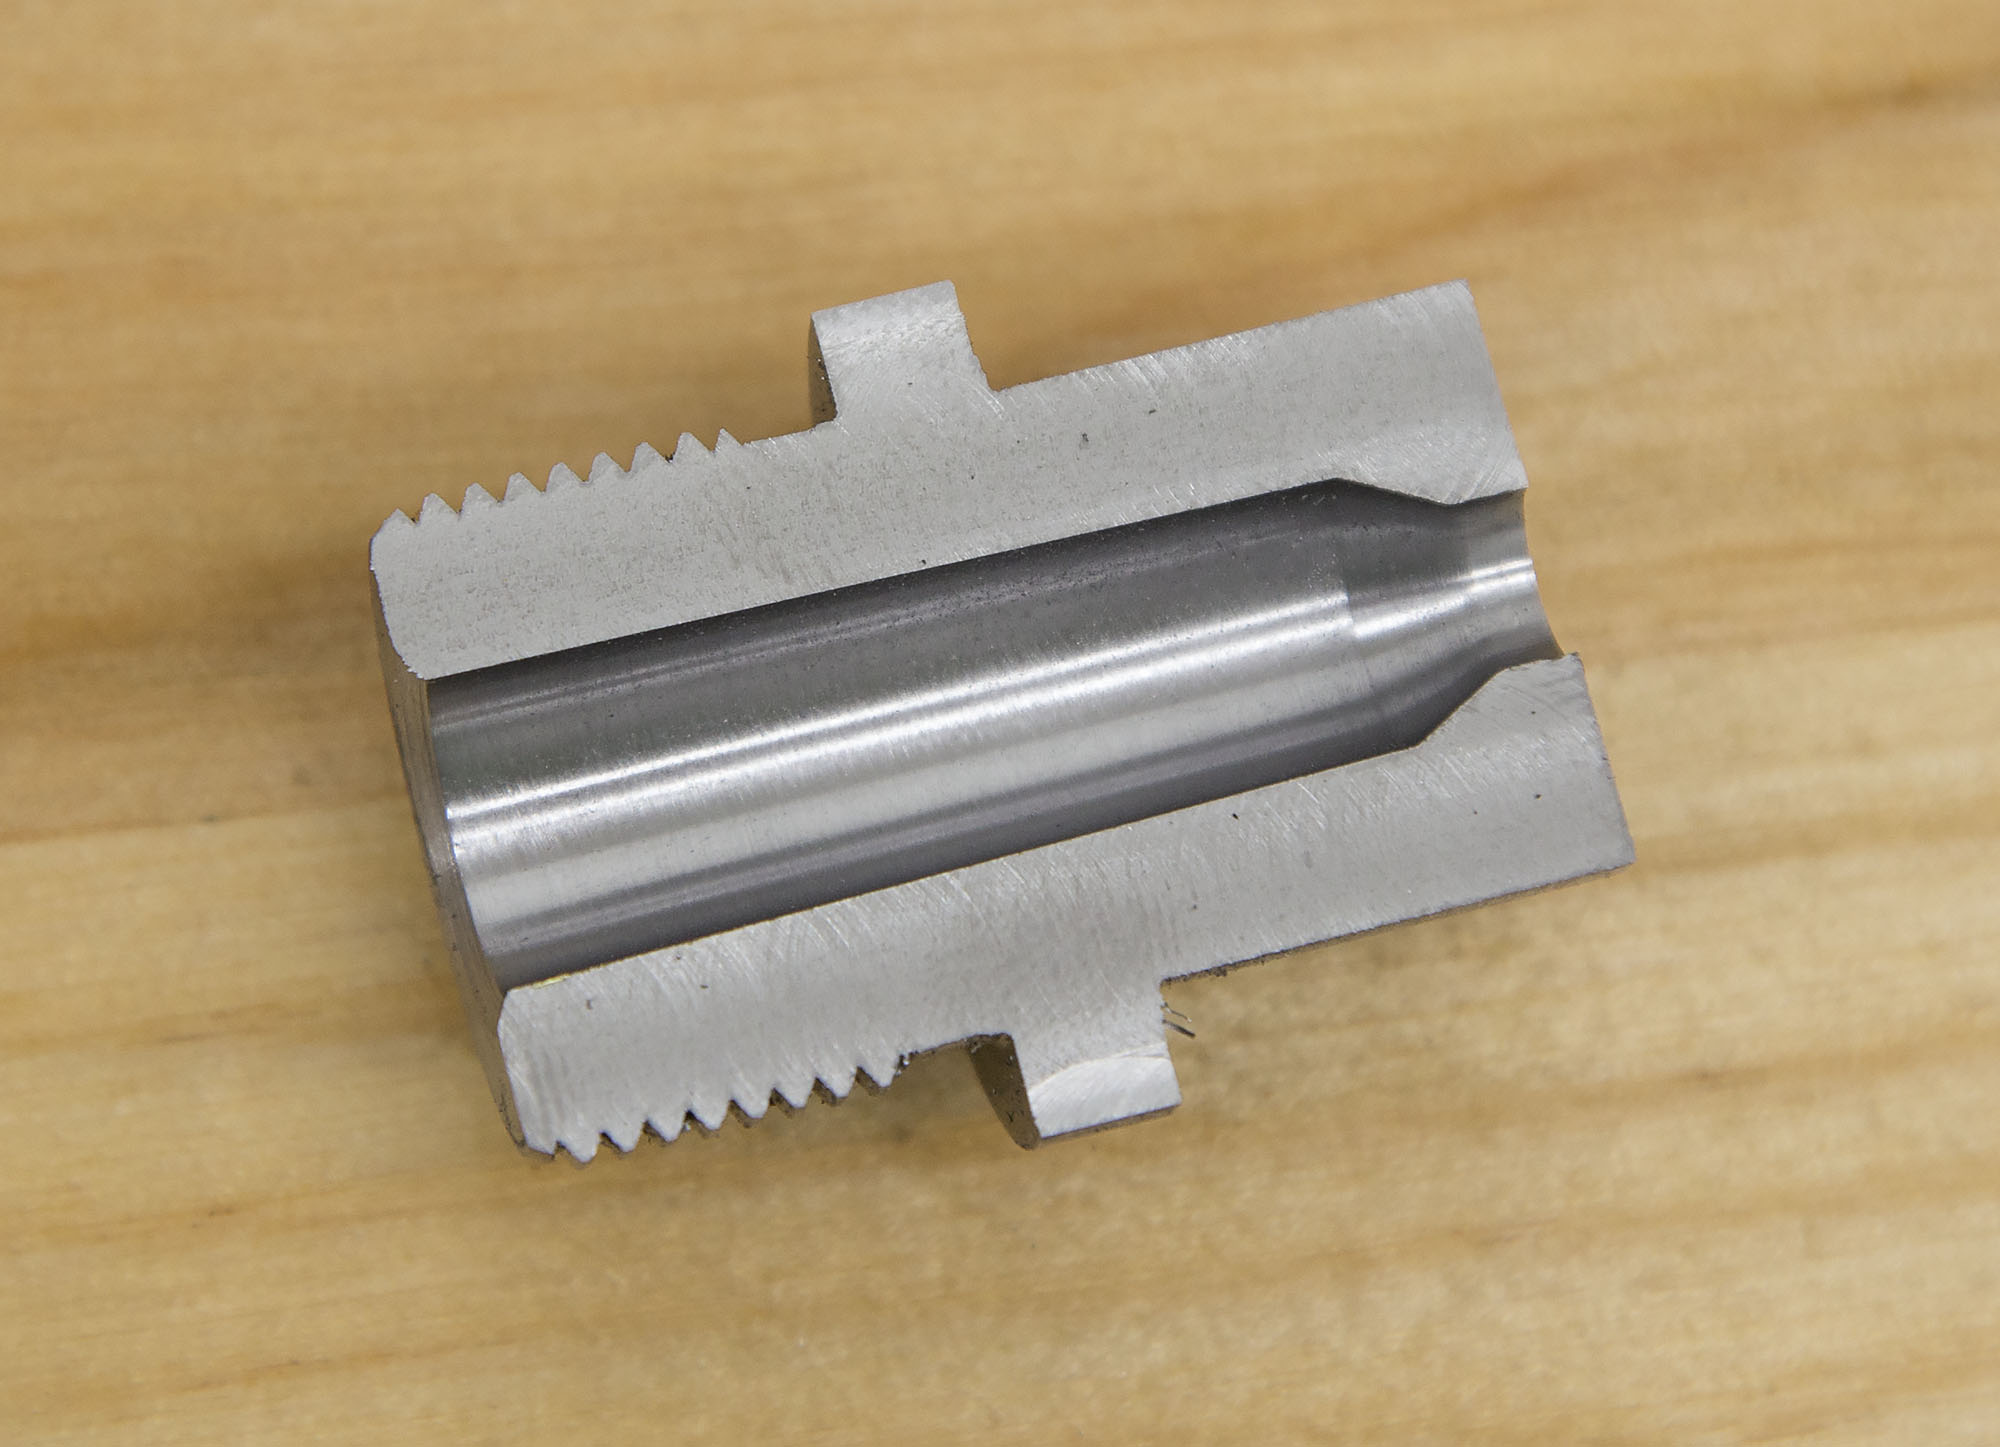
I started by cutting off 2″ of the 28″ Shilen 22 caliber barrel blank. I decided I would go through the entire process of threading the tenon and chambering on this cut-off to make sure I was ready for the actual chambering job. Overall things went well with the practice run, but I did have a couple minor issues. If it were the actual barrel, it would have turned out fine!
Gavin’s test run 22-250 chamber after being cut in half and milled: (click/tap to enlarge)
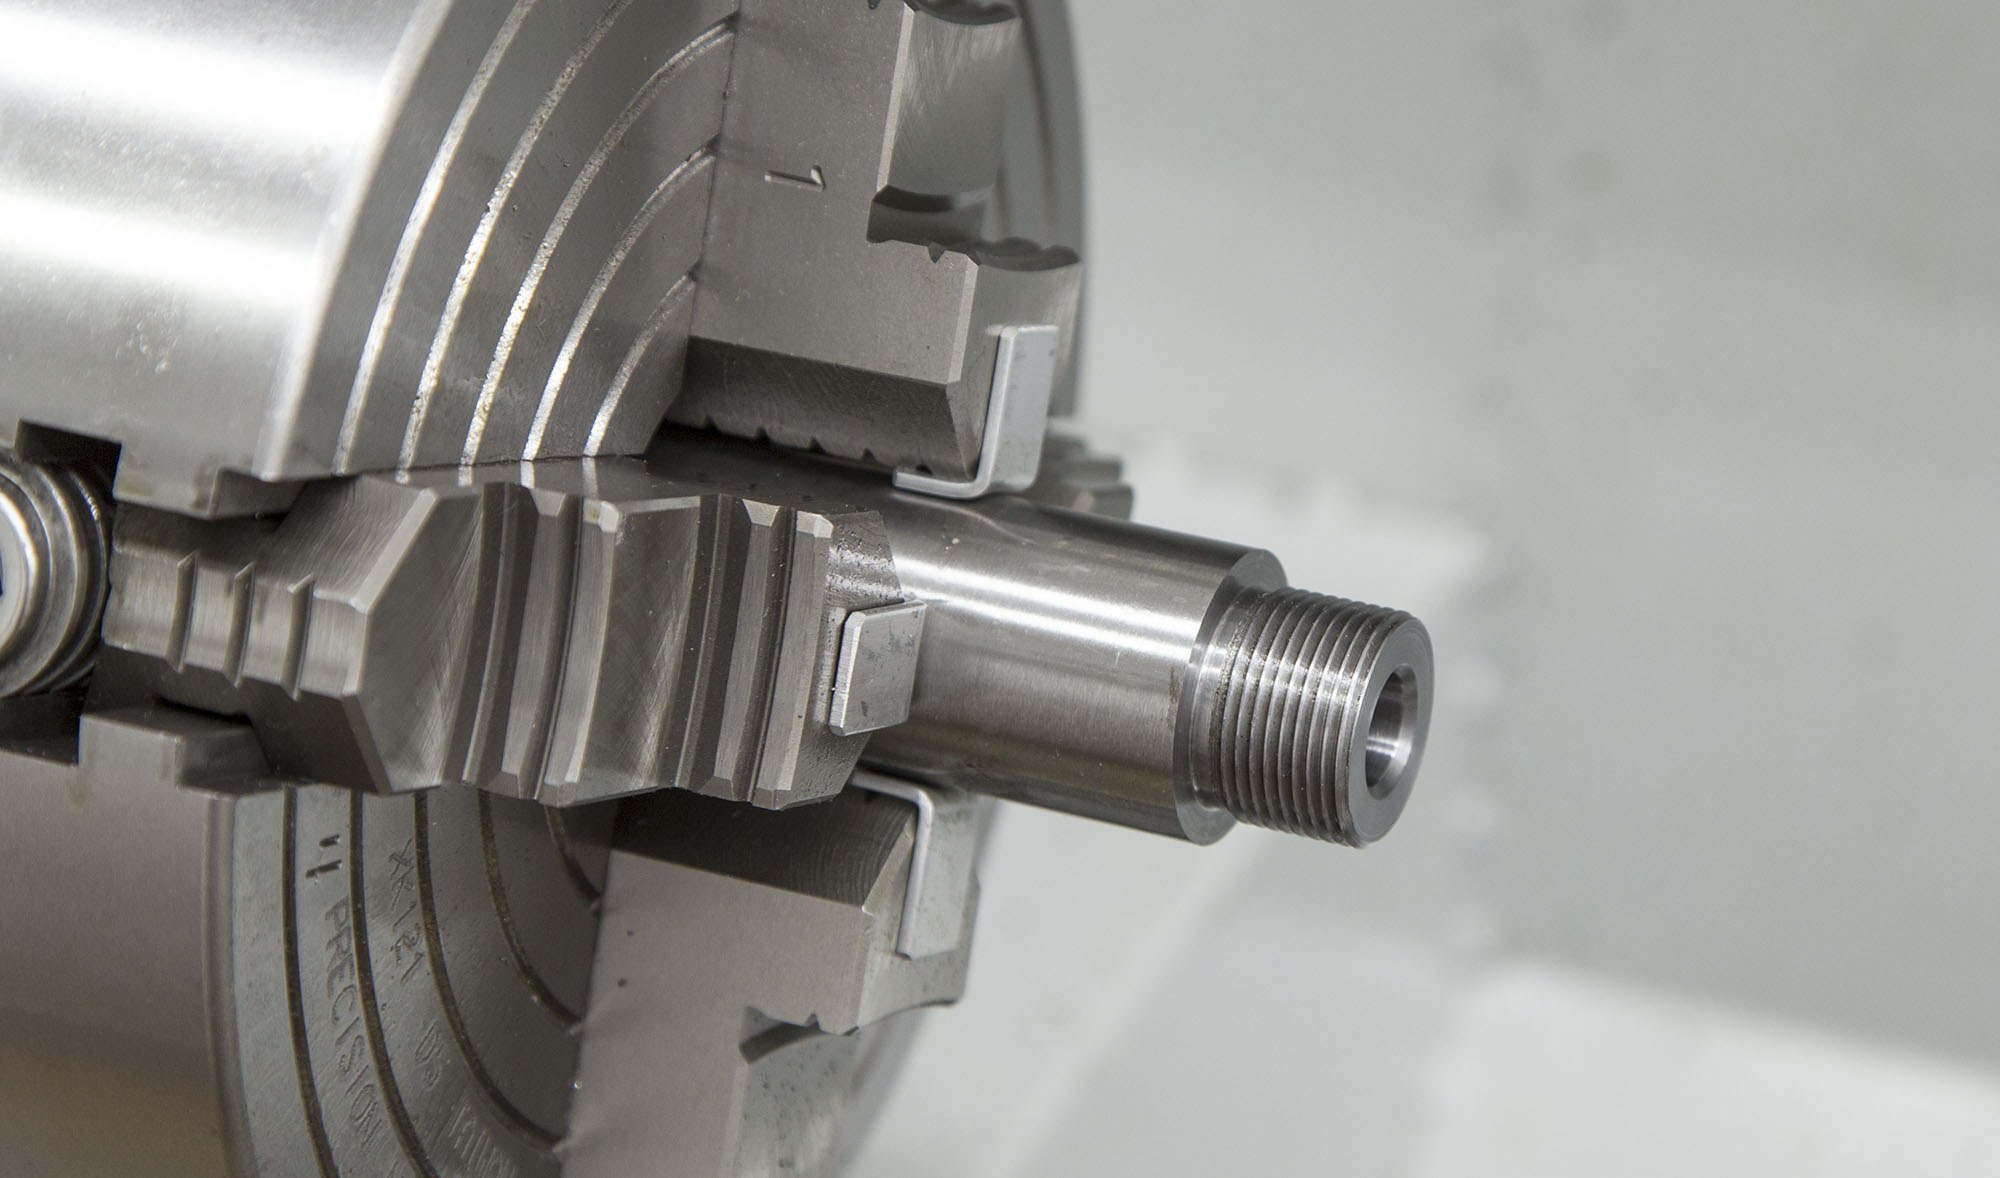
Then it was time to take my learnings and to apply them towards the actual chambering job. I was slightly nervous, but confident. I took my time dialing in the barrel (for axial and radial alignment as Gordy Gritters outlines in his DVD), and then started work on the breech end of the barrel. I really took my time with the job- taking light cuts, running slow spindle speeds, and incrementally speeding up as I knew I was on the right path. I didn’t want to spin the barrel in the jaws or run into any other problems.
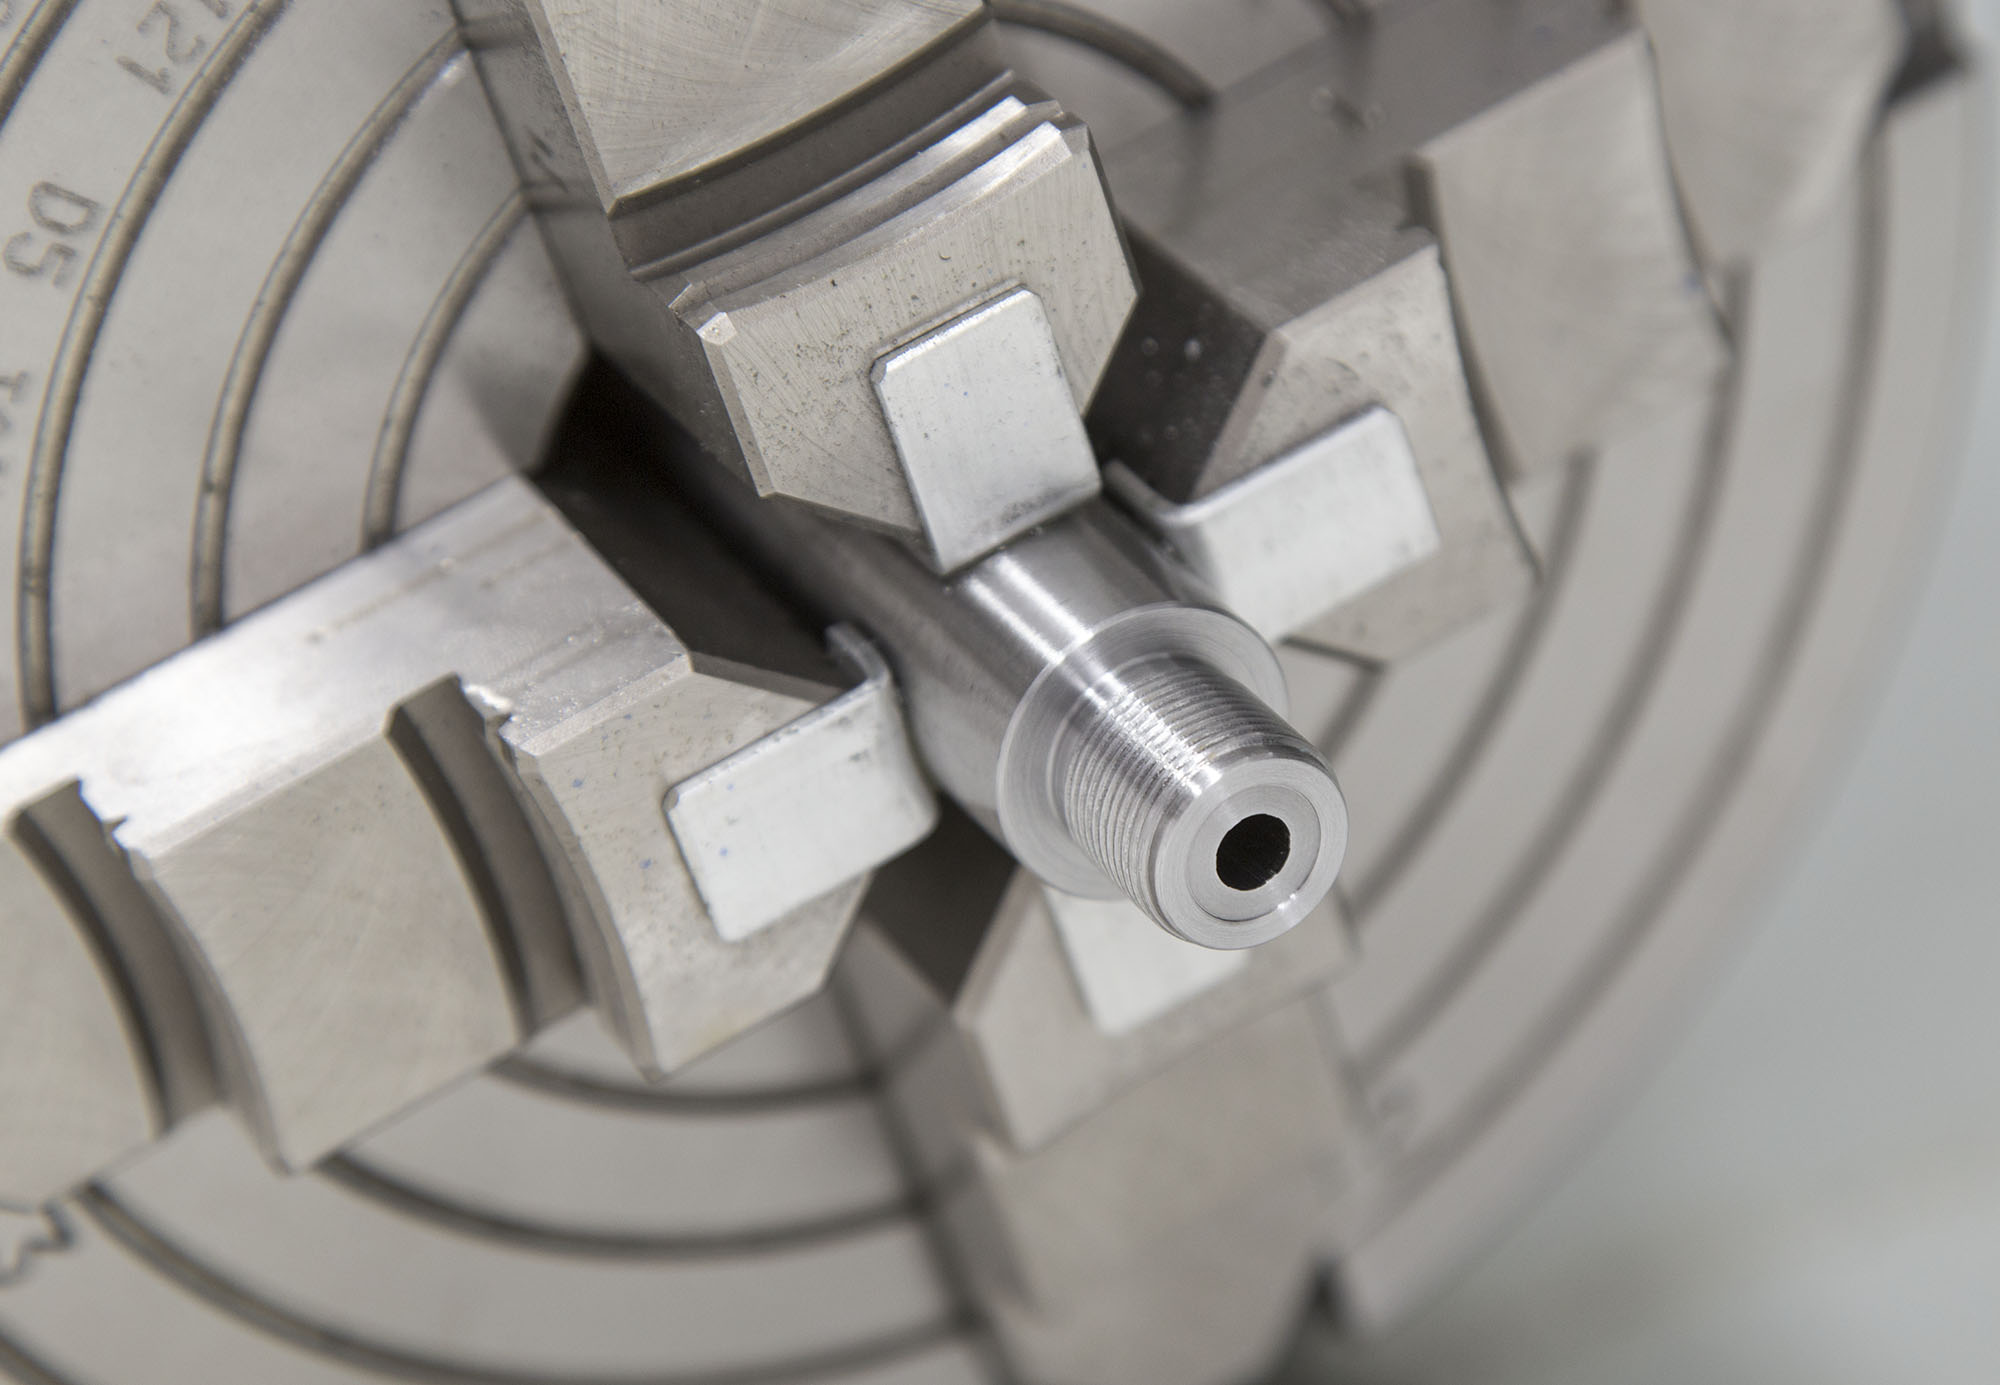
Here’s the chamber end as it looked when I completed the threading and chambering process: (click/tap to enlarge)
Everything went really smooth, including the muzzle threading which I based on the Ruger Precision Rifle threaded muzzle profile: (click/tap to enlarge)
I put the new barrel and action together with the Brownells Barrel Vice and Action Wrench, and then installed new scope mounts, and a scope I had laying around. Then I anticipated the first shots…
Shooting the Completed Rifle
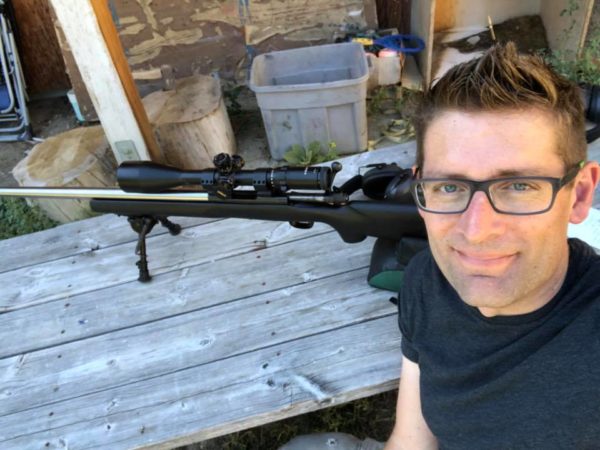
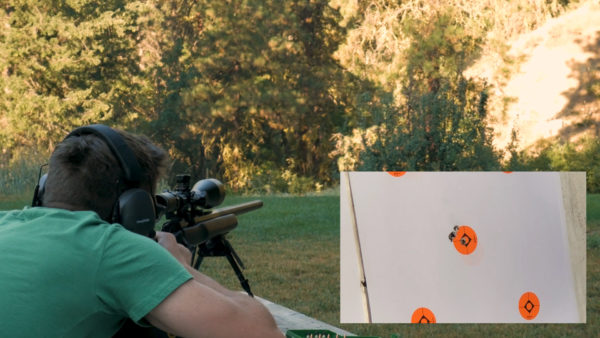
Shooting the rifle following the rebarreling job was a bit like shooting my first handloaded ammunition: lots of anticipation and excitement surrounded by a touch of danger. Awesome. I did a boresight on the rifle, and was only about 8″ from center at 100 yards! My best initial boresight to date. I had talked with Jesse Redell of R-Bros Rifles about barrel break-in and followed his process exactly. I sighted in the scope and performed break in at the same time. And one of the first three groups I shot measured under 1/4″ – wow!
Here’s the picture I posted on Facebook while breaking in the rifle:
A great day with great results. I had achieved what I had set out years ago to accomplish. The word “happy” hardly does this experience justice. Here’s what the first three groups looked like (I was cleaning every three shots):
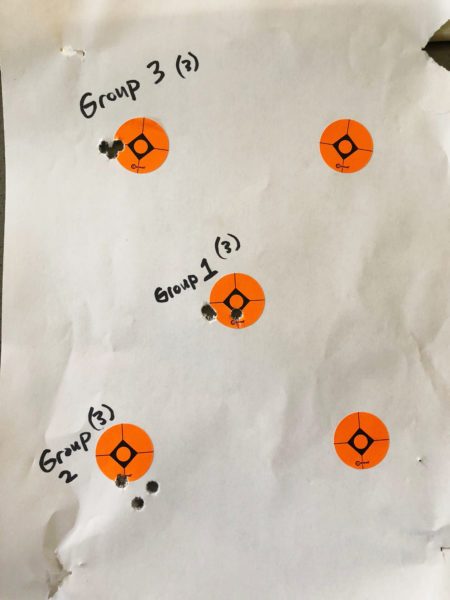
Two of these groups were at about 0.5″, the third at about 0.225″, great results for new brass, first load tried, and while breaking in the barrel! The first 5-shot group I shot following break-in (same load with new brass) measured under 1/2″. This is going to be a GREAT rifle, especially as I work up some awesome loads for it!
Above: 5 shots at 100 yards measuring 0.490″. It was worth it to get up early as the sun came down the hill to get ahead of the mirage that is present these summer days after about 8AM.
Following the break in, I decided to cold blue the barrel. I’m going to get setup for Cerakote, but for now wanted to complete the rifle with what I had on hand. I used Super Blue from Birchwood Casey, and it worked well. Just a quick note if you want to use this cold blue- make sure you REALLY polish the surface well first – surface prep is critically important to get even coverage and a deep blue finish.
Here’s a picture of the completed rifle: (click/tap to enlarge)

Conclusion
All of the time and effort was worth it- I now have an awesome varmint rifle and skills I’ll use for the rest of my life (yes, I’d like to chamber rifles at the retirement home if that were possible 🙂 ). And I’m very much looking forward to the many gunsmithing and shooting stories that will be published over the next 5-10 years here on Making with Metal and Ultimate Reloader. The fun is just beginning!
Many thanks to:
- Roy Hill from Brownells
- Gordy Gritters from the Extreme Accuracy Institute
- Bill Marr from http://rifleshooter.com
- Mark LaFevers
- The editor at http://accurateshooter.com
I appreciate all of the help and guidance, you guys really helped to make this project a success!
Be sure you’re subscribed, because there’s two more parts in this series: The chambering process, and the tools/equipment/parts involved.
For reference, here’s the complete content series:
- Winchester 70 Rebarrel Part 1: Overview (you are HERE)
- Winchester 70 Rebarrel Part 2: Start to Finish Process
- Winchester 70 Rebarrel Part 3: Tools of the Trade
*Also published on our sister website Ultimate Reloader.
Thanks!
Gavin