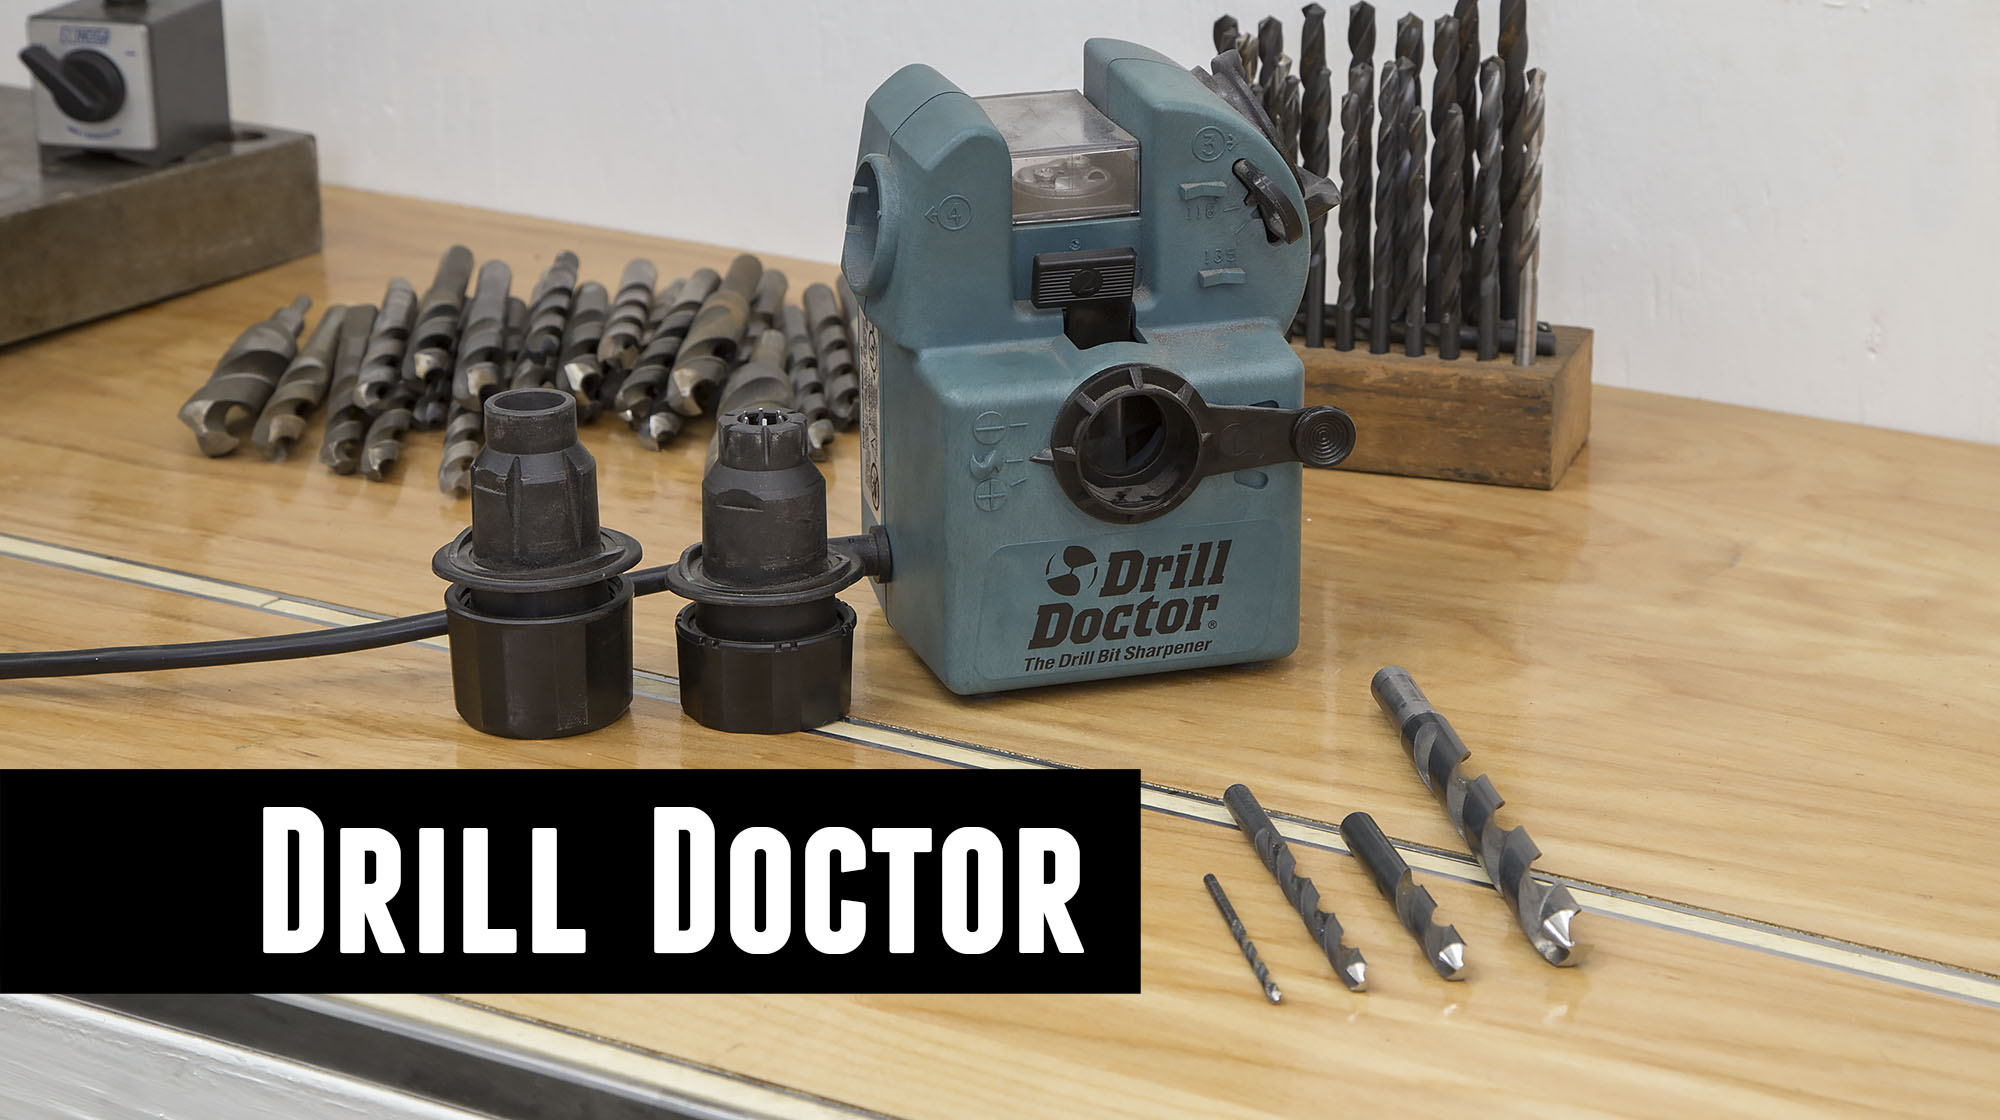
Ever run across a tool that you wish you had acquired long before you did? That’s how I feel about my Drill Doctor, and I’ve owned it for over 10 years! In this post, I’ll give a quick overview of my (old) Drill Doctor 750. It’s pretty amazing what you can do with this tool!
Features
The Drill Doctor 750 (keep in mind, this has been replaced with a newer model, the 750x) has a simple user interface. Once you familiarize yourself with the knobs, levers, and stations, you’ll be off and running in no time. Here’s the primary features:
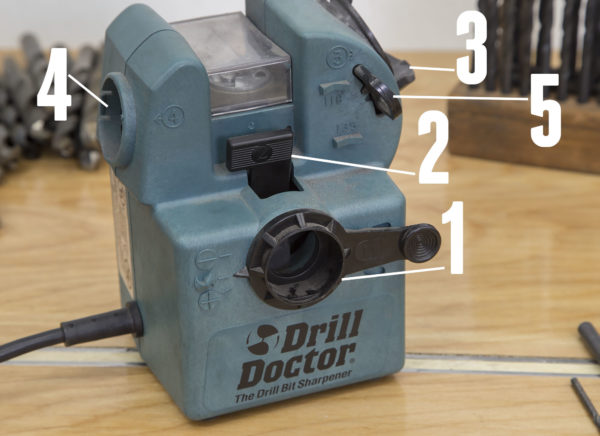
Above we have:
- Relief angle setting: Normal (lever, points to settings: middle with drill bit profile shown, + [more relief], – [less relief]), depth adjustment station (hole)
- Bit alignment finger release (you press to open up alignment fingers, and then release while twisting drill bit to “settle in” to the correct angle)
- Drill sharpening station
- Split-pointing station
- Point angle setting (118°, or 135°)
Sharpening Drills
As I showed in the video, sharpening drill bits with the Drill Doctor is fast and easy. Here’s what you do each time you sharpen a drill bit:
- Ensure you have the correct relief angle and drill point angle set.
- Insert drill into collet (The Drill Doctor instructions call this a “chuck”) with drill able to slide with medium friction.
- Press on lever (2), and then insert chuck and drill into depth station.
- While pressing collet and drill bit towards the depth stop, release the lever (2) and then rotate the drill bit while tightening the collet.
- Turn on the Drill Doctor and wait for it to reach maximum RPM.
- Insert the collet and drill into the sharpening station (3) with the while lines aligned with the reference mark next to the sharpening station opening.
- Rotate the collet and drill while pressing inward towards machine, follow cam profile as you rotate (you’ll feel it follow a “wobbling” motion path).
- Continue step 7 until the sound of sharpening is near nothing (it will get slightly quieter with each pass).
- Inspect the surface of the drill bit.
- If the sharpened surface is not uniform, repeat steps 3-9 being sure to loosen the collet (slightly) before putting it into the depth station each time.
Restoring Broken Drills, Shortening Drills
Regardless of whether your drill bit is dull, improperly sharpened, or broken, you can restore it with the Drill Doctor.
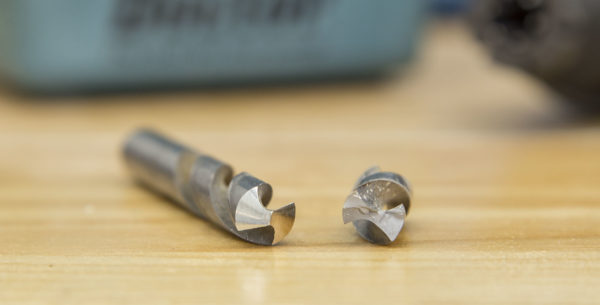
The above picture shows the *same* drill bit- the restored portion of the drill on the left, and the broken off tip on the right. Here’s my process for restoring (or shortening) drills with the Drill Doctor (See video above for more detail):
- Square up the end of the drill bit by using a cutoff saw or angle grinder with cutoff blade. Be careful not to overheat the end of the drill in the process.
- Rough-grind the tip of the drill to approximately the right angle on a bench grinder or similar machine. Again, be careful not to overheat the tip of the drill while grinding.
- Sharpen the drill in the Drill Doctor: in most cases you’ll need to do 3 or more depth adjustments and sharpening passes to completely sharpen the bit (see steps above).
That’s it- the Drill Doctor works amazingly well for drill restoration!
Split Pointing
Split pointing your drills will do two things: enhance self-centering when drilling, and enable easier large-diameter drilling without pre-drilling. With the Drill Doctor- split pointing is an easy follow-up step after you sharpen your drill. All you need to do is insert the collet/drill into the split pointing station, insert until you hear grinding (take it slow), check, and repeat until the desired split pointing is achieved. This process must be done twice (rotating the collet and drill 180° to grind each side).

Above you can see the split pointing in the very center of the drill tip.
So, if you need to sharpen drills quickly and precisely, take a look at the Drill Doctor!
Thanks,
Gavin